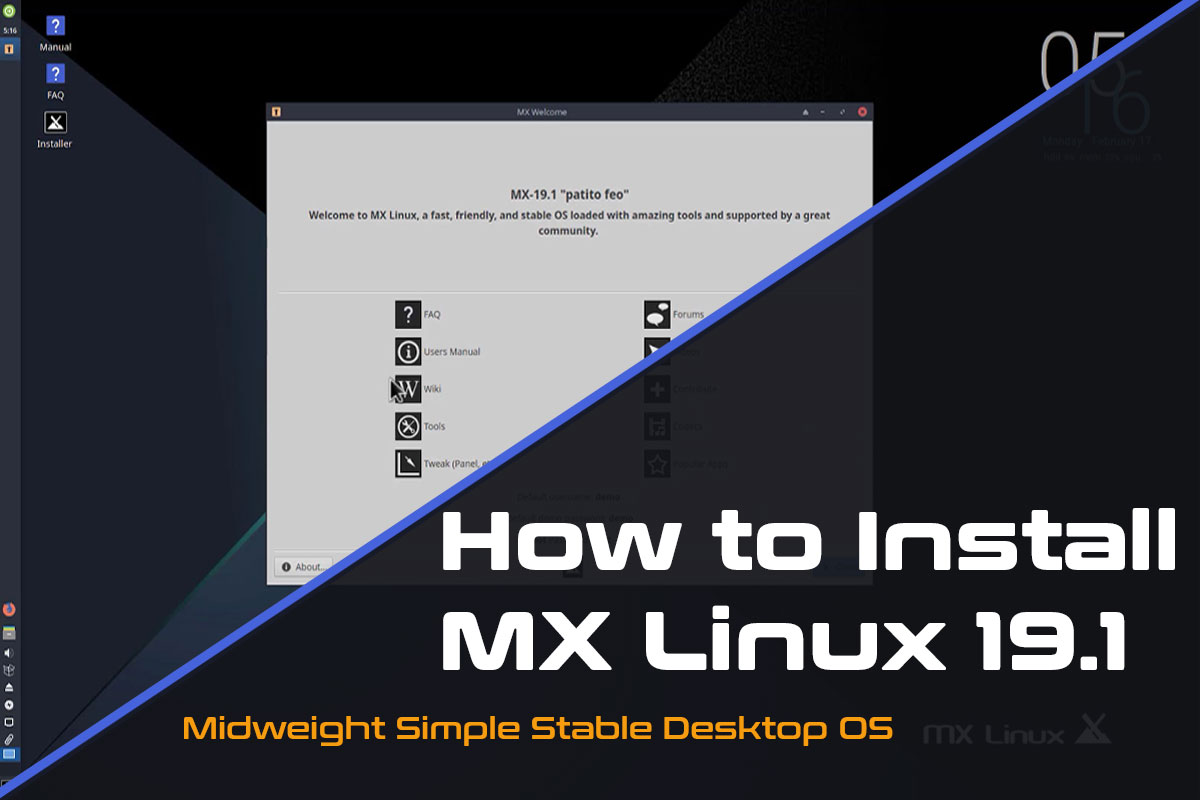
In this article, I am going to show how to install MX Linux step by step. MX Linux is a cooperative venture between the antiX and former MEPIS communities, using the best tools and talents from each distro. It is a midweight OS designed to combine an elegant and efficient desktop with simple configuration, high stability, solid performance, and a medium-sized footprint.
MX Linux 19.1 is a refresh of the MX Linux 19 release of this year, consisting of bug fixes and application updates than MX Linux 19. If you are already using MX Linux 19, so no need to reinstall. Packages are available through the original update channel.
MX Linux 19.1 includes the latest updates from Debian 10.3 (buster) and MX repos and more in the MX repositories.
- Xfce 4.14
- GIMP 2.10.12
- MESA 18.3.6 (19.2.1 ahs)
- updated firmware
- Latest Debian 4.19 kernel (5.4 ahs)
- Browser: Firefox 73
- Video Player: VLC 3.0.8
- Music Manager/Player: Clementine 1.3.1
- Email client: Thunderbird 68.4.0
- Office suite: LibreOffice 6.1.5 (plus security fixes) (6.4 available in MX-Packageinstaller->Popular Apps)
New and updated MX-apps
MX-Fluxbox – alternate window manager and supporting packages are now included on the isos. Use the session chooser on the lightdm login screen to try it!
How to Install MX Linux 19.1:
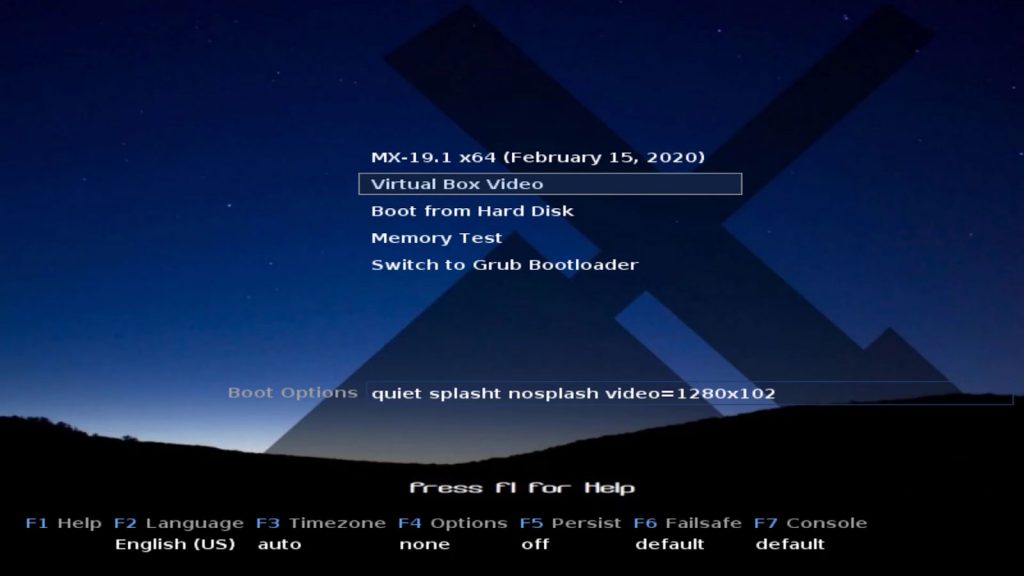
First, you have to download the latest version of MX Linux 19.1:
Then you have to create a bootable USB drive or DVD according to your requirements. How to create a bootable USB drive. Follow the video:
balenaEtcher Software:
Hardware: Minimum 8 GB USB Drive
Now you have your bootable USB drive. Now next step is to boot up your PC.
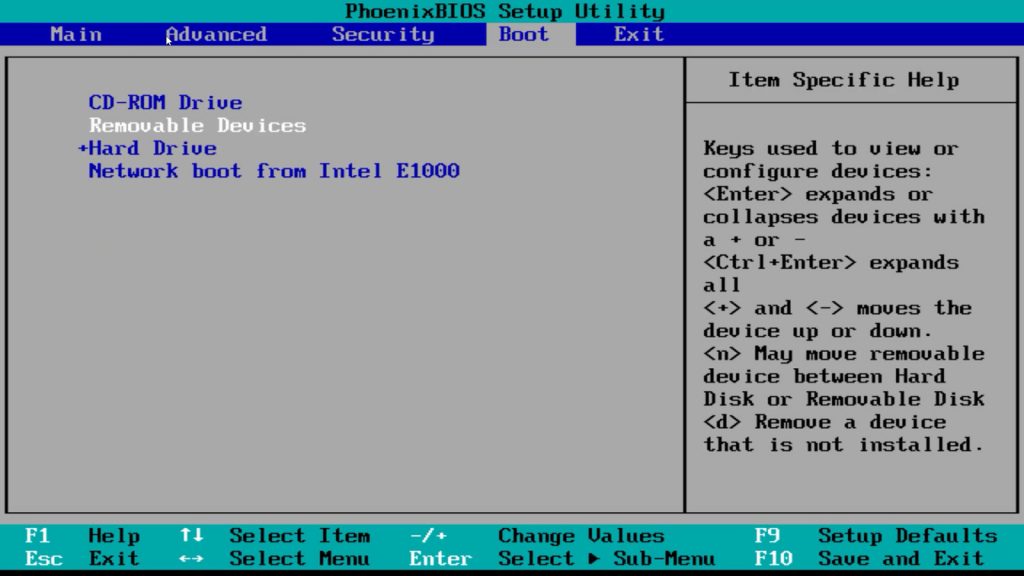
- First, go to your boot setting and set up your first boot device USB (Removable Device)/CDROM.
- MX-19.1 “patito feo” Welcome to MX Linux, a fast, friendly, and stable OS loaded with amazing tools. Now you have to click on the Installer icon on the desktop.
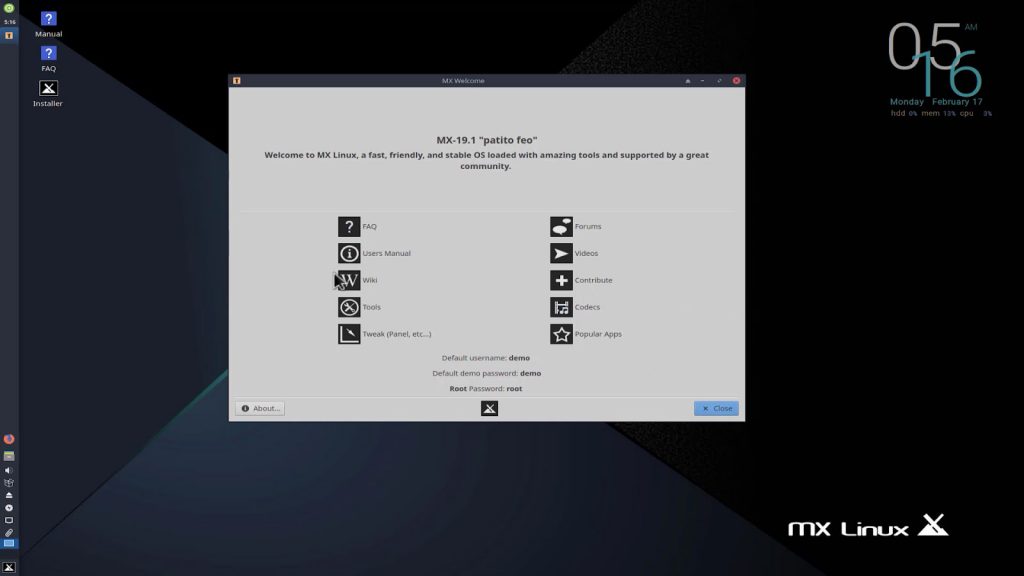
Default demo password: demo
Root Password: root[/blockquote]
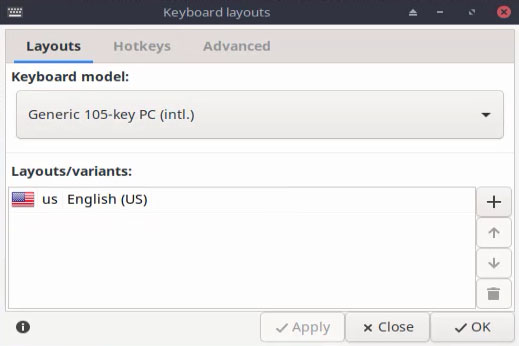
- MX 19.1 installer starts now you can select your keyboard layout according to your choice.
- Select your installation type, Auto-install using the entire disk or choose custom install on existing partitions.
Take a backup if you choose Auto-install using entire disk because it formats your Hard Disk
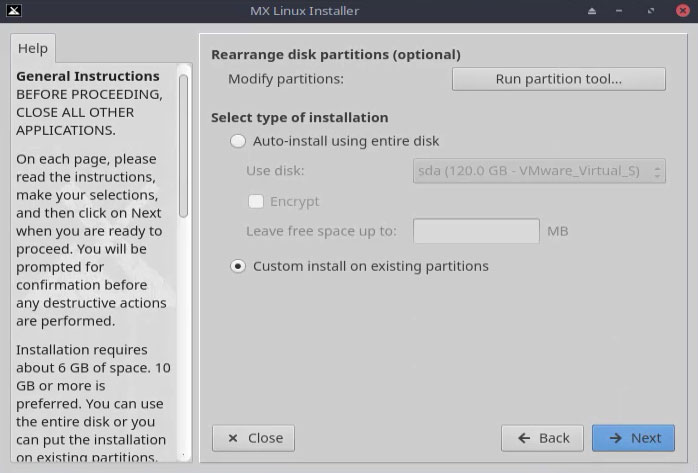
- Installation in progress and meanwhile you have to set up your Computer name and Hostname.
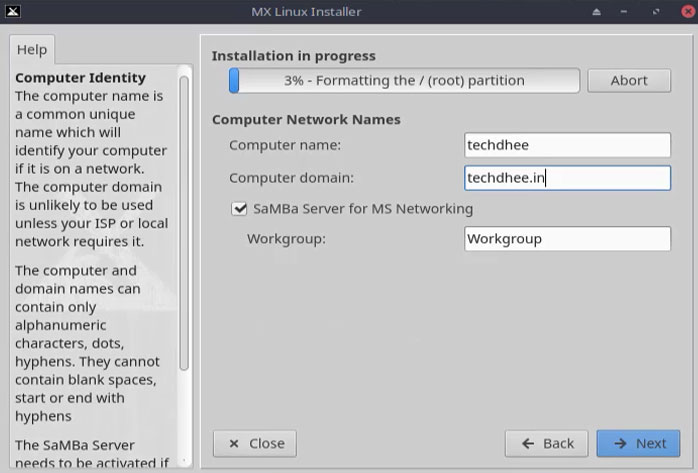
- Now next step is you have to set up your location or timezone and configure your clock format.
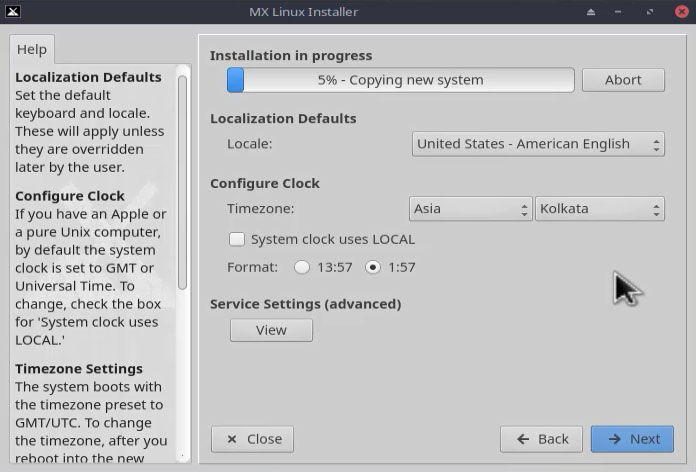
- Installation in progress and set up your default username and password as well as set up your root(administrator) password.
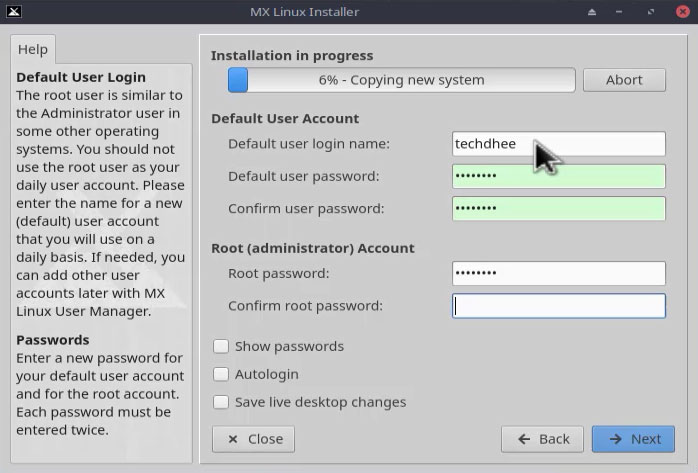
your installation media install your MX Linux 19.1 in your PC or Laptop. After installation complete, you have to restart your system and remove your installation media from your computer.
Video
Follow this video to how to install MX Linux step by step, Please Watch the VIDEO.
Finally
Thank you for reading this post and keep connected to TECH DHEE to continue enjoying excellent posts. Share your views about this post in the comment section below. If you still have any queries, throw it in the comment section. If you find this post helpful, don’t hesitate to share this post on your social network. It will only take a moment and also it is quite easy and useful for others.
Related Topics:
