
In this article, I am gonna show how to monitor real-time traffic if you are using MikroTik Router as well as a firewall.
If you are a system admins, so you have your most important tasks is keeping an eye on the network that is going on in your intranet as well as an extranet (internet). Today is all about the internet and on the internet much malicious entity is a hacker, a compromised system, or network, it’s essential to sniff out the issue.
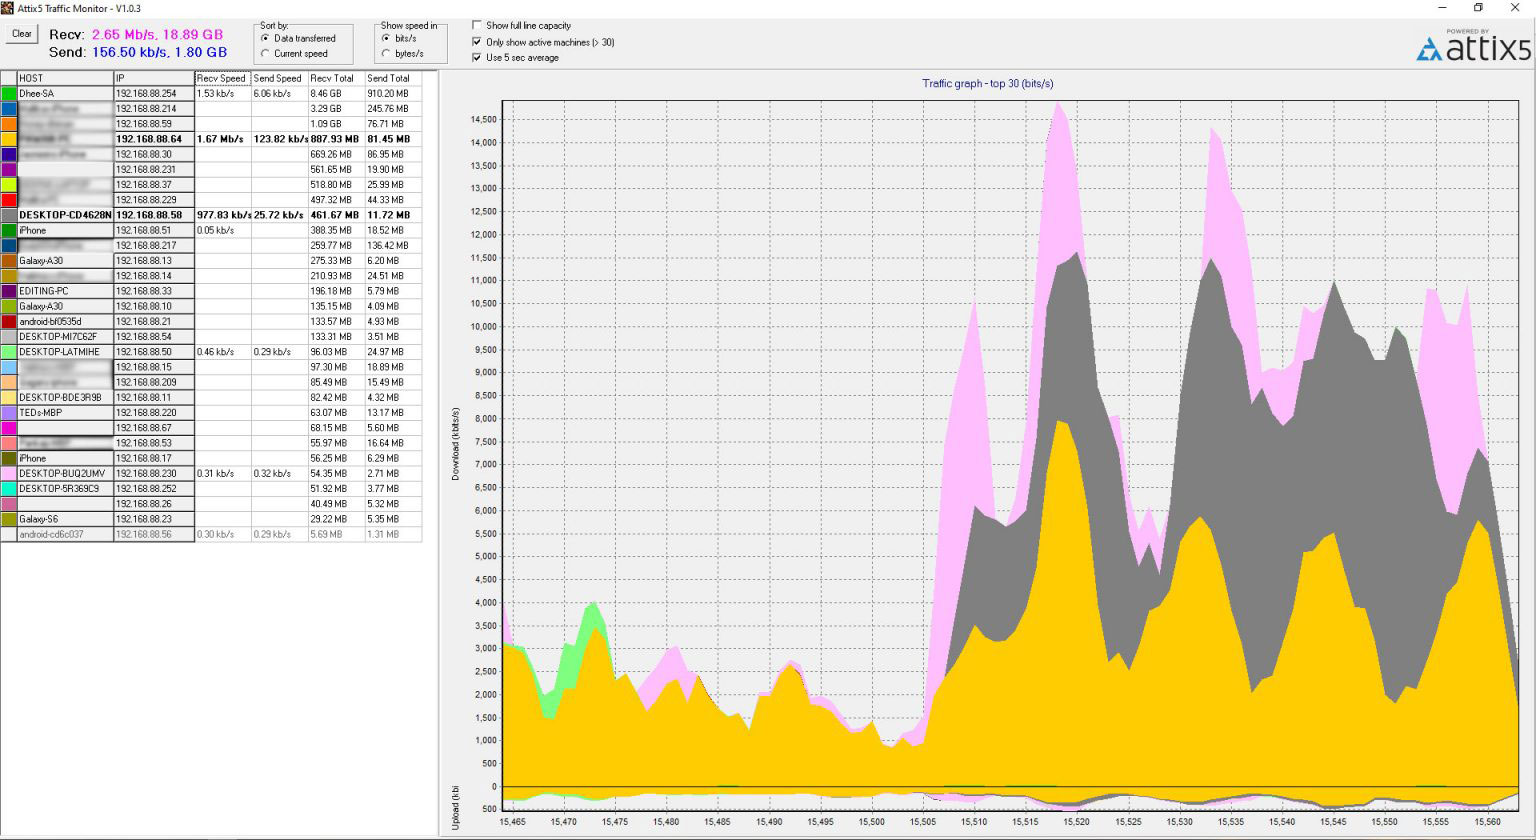
Monitor Realtime MikroTik Traffic In Windows 10:
Realtime Traffic Monitor called also torch is used for monitoring traffic that is going through an interface. You can monitor traffic classified by protocol name, source address, a destination address, port, etc. Torch shows the protocols you have chosen and received data rate for each of them or vice-versa.
Requirements:
Download Attix5 Traffic Monitor Service(Server)
Download Attix5 Traffic Monitor Viewer
Mikrotik configuration:
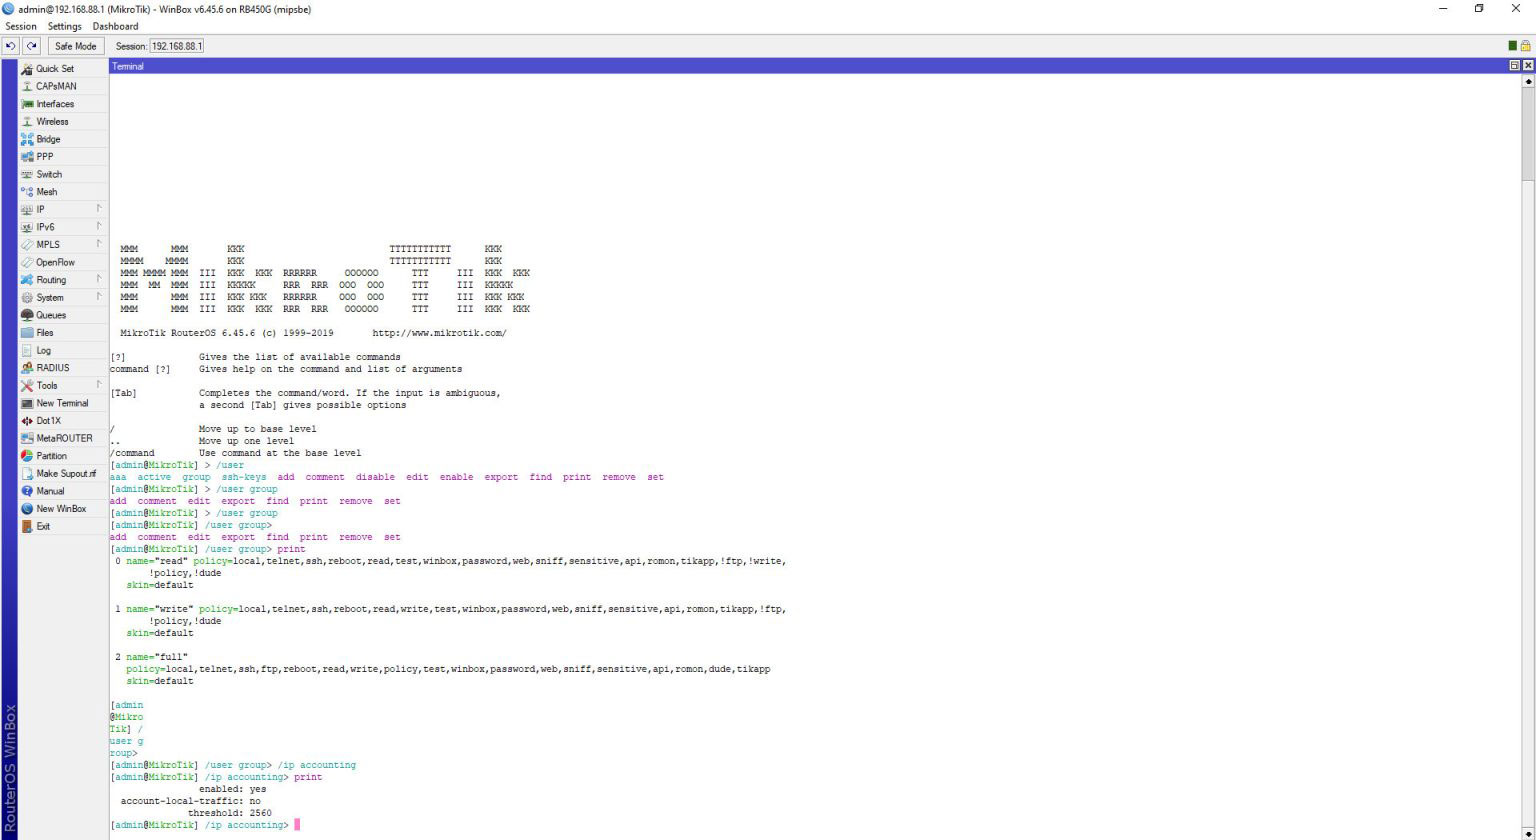
Create a group names XXXX with ‘SSH,read’ policy? Command:
/user
group add name=xxxx policy=”ssh,read”

Note xxxx is your name which you want to make policy.
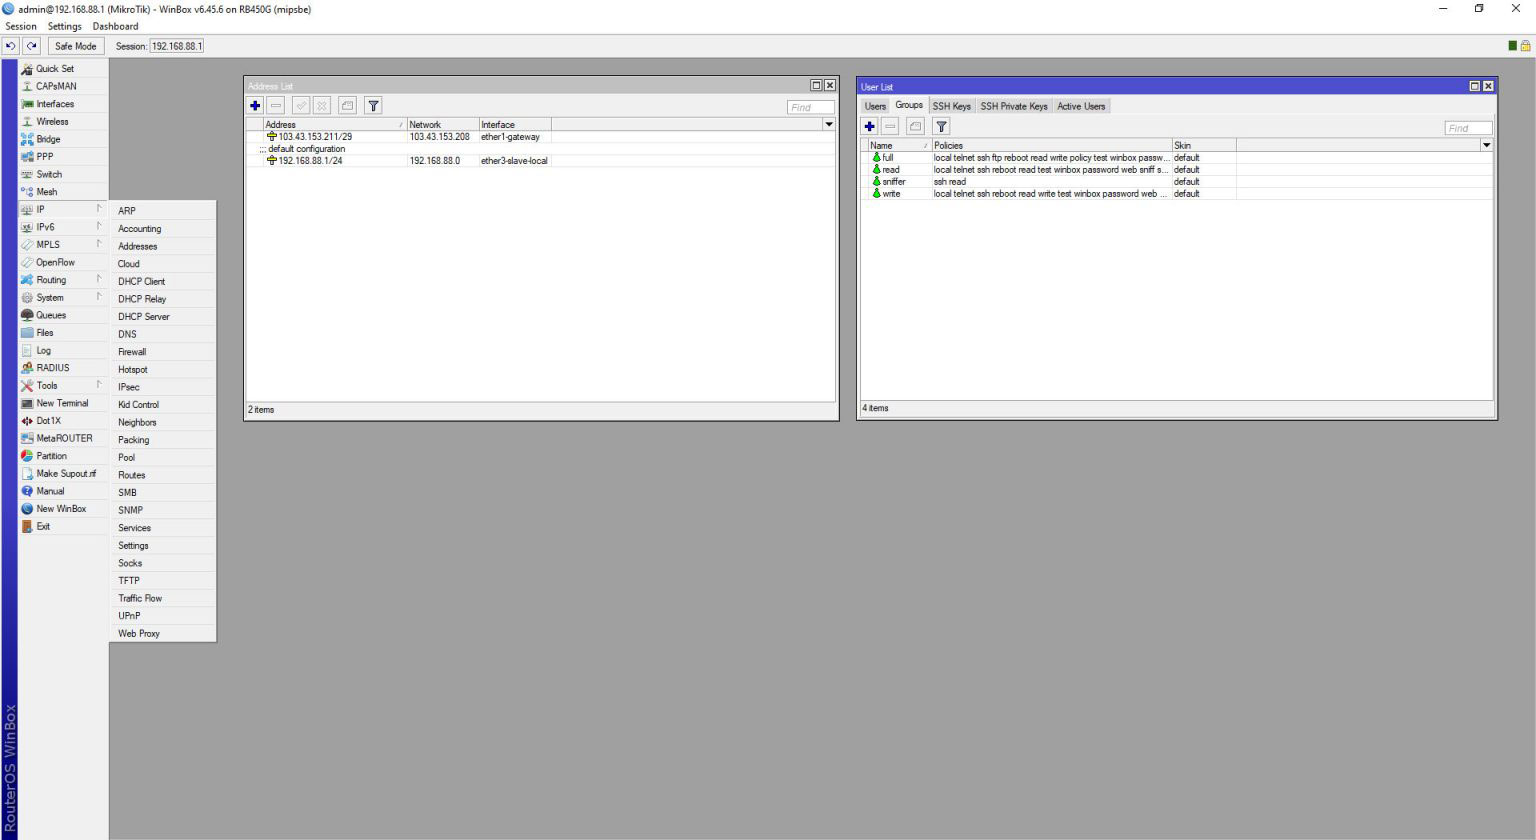
Create a user in XXXX group names XXXX and set IP
address for it
add address=192.168.88.0/24 disabled=no group=xxxx name=xxxx
Now enable IP accounting as write below
/ip accounting
set account-local-traffic=no enabled=yes threshold=2560
/ip accounting web-access
set accessible-via-web=yes address=192.168.88.XX/24
Attention: XX is the IP address of the machine that the server is running on it.
Server Machine Configuration:
Copy server(service) files in path C:\xxxx\Sniffer. where you want to run it.
Edit snifferservice.ini according to your network. For example :
Network=192.168.88.0
Mask=255.255.255.0
MikrotikSSHUser=<username>
MikrotikSSHPassword=<Password>
Open CMD as an administrator and run this command.
SnifferService.exe /install
Go to the Service Manager and search for sniffer. Right-click on sniffer and start the service.
Copy the Viewer files the same folder or you can save in any other location totally depends on you. Open and Edit sniffer.ini file according to your network.
Network=192.168.88.0
Mask=255.255.255.0
MikrotikSSHUser=<username>
MikrotikSSHPassword=<Password>
Video
How To Setup and Monitor Realtime MikroTik Traffic In Windows 10 (Working 2019) you can watch the following video and also subscribe to our YouTube channel to support us.
Finally
Thank you for reading this post and keep connected to TECH DHEE to continue enjoying excellent posts. Share your views about this post in the comment section below. If you still have any queries, throw it in the comment section. If you find this post helpful, don’t hesitate to share this post on your social network. It will only take a moment, and also it is quite easy and useful for others.