
In this article we will learn how to install Tor Browser in macOS X step bye step. The Tor Browser keeps you anonymous and keeps your online activities private. It disguises your identity and protects your Web activity from numerous types of Internet surveillance. Tor Browser can also be used to bypass Internet filters and securities.
DOWNLOAD THE TOR BROWSER
Open your Safari Browser and Go to the Tor download page. Make sure you’re on the secure version of the “https://www.torproject.org/download/download-easy.html” website before downloading anything.
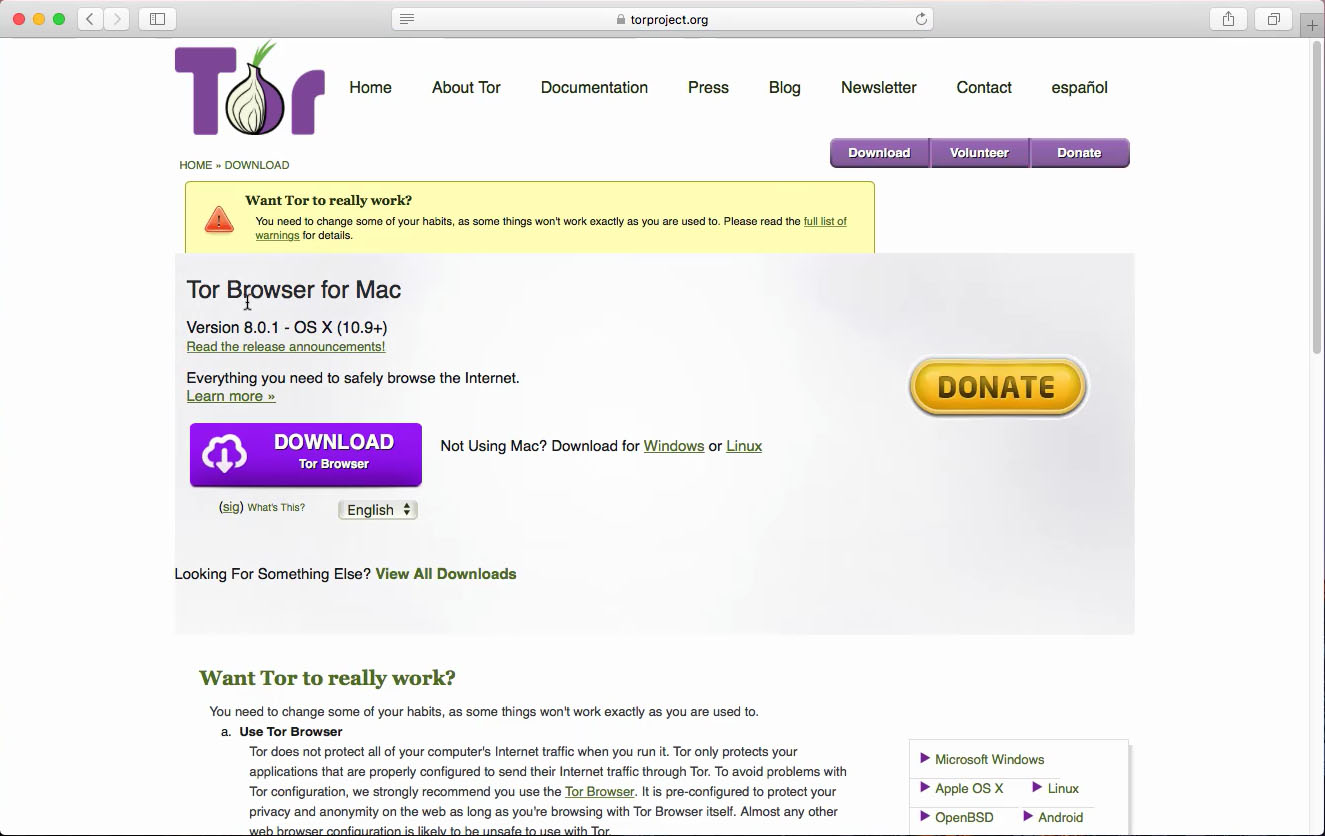
The above link goes to Tor Project official website’s easy download web page and which is designed to identify the operating system automatically which is you are using so correct version of Tor Browser download for your computer: Tor Browser for Mac. Click Here.
How to install and Setup Tor Browser in macOS X:
To install the Tor Browser in macOS, follow the following steps:
1. Navigate the download folder in which Tor Browser package is downloaded(a .dmg file beginning with ‘TorBrowser-X-XX-X). In this example, I saved the file in the Downloads file.
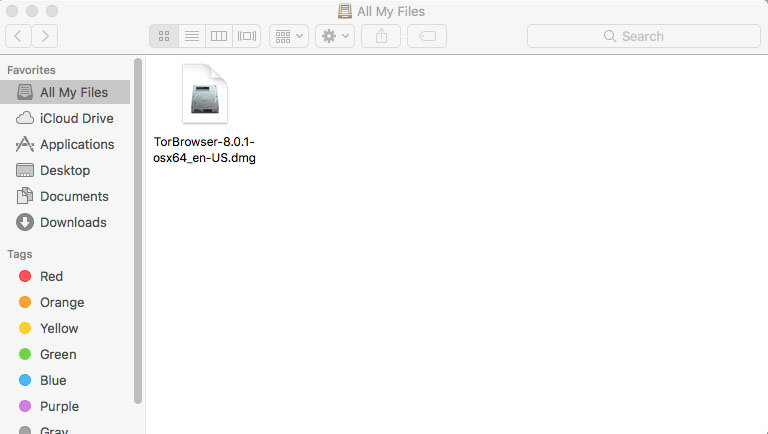
Or you may simply click on down arrow of the safari browser and there you find the TorBrowser.dmg file( beginning with ‘TorBrowser-X-XX-X).
2. Double-click on downloaded TorBrowser.dmg file and then it is mounted on desktop like a disk image. And we get a new window and under Devices in the left-hand sidebar of a normal Finder window.
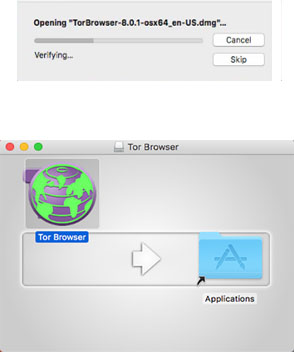
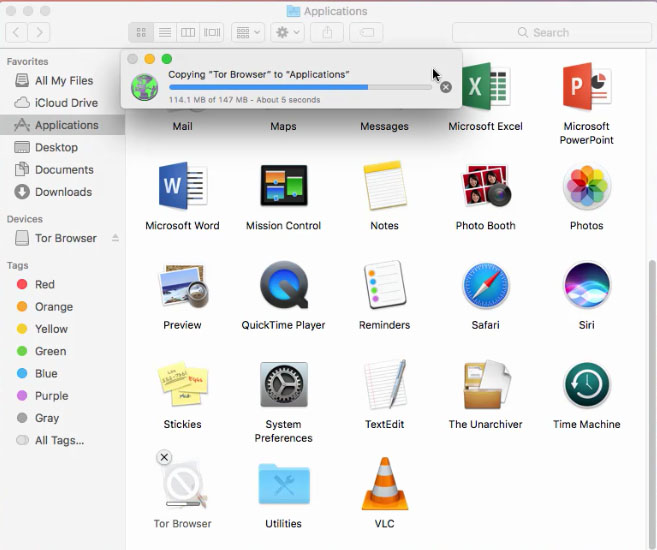
3. Click on Tor Browser and Drag the TorBrowser.app into your Applications folder.
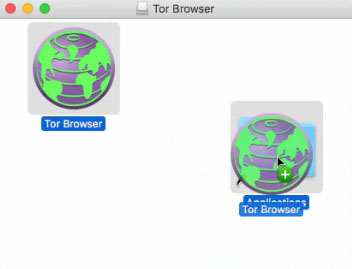
It will start the copy over into Applications.
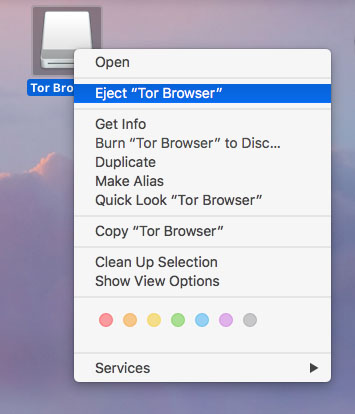
4. Now we have to unmount the Tor Browser virtual disk image which is placed on the desktop. Right Click on Tor Browser and select the Eject “TorBrowser” icon next to it in the sidebar to unmount the disk image.
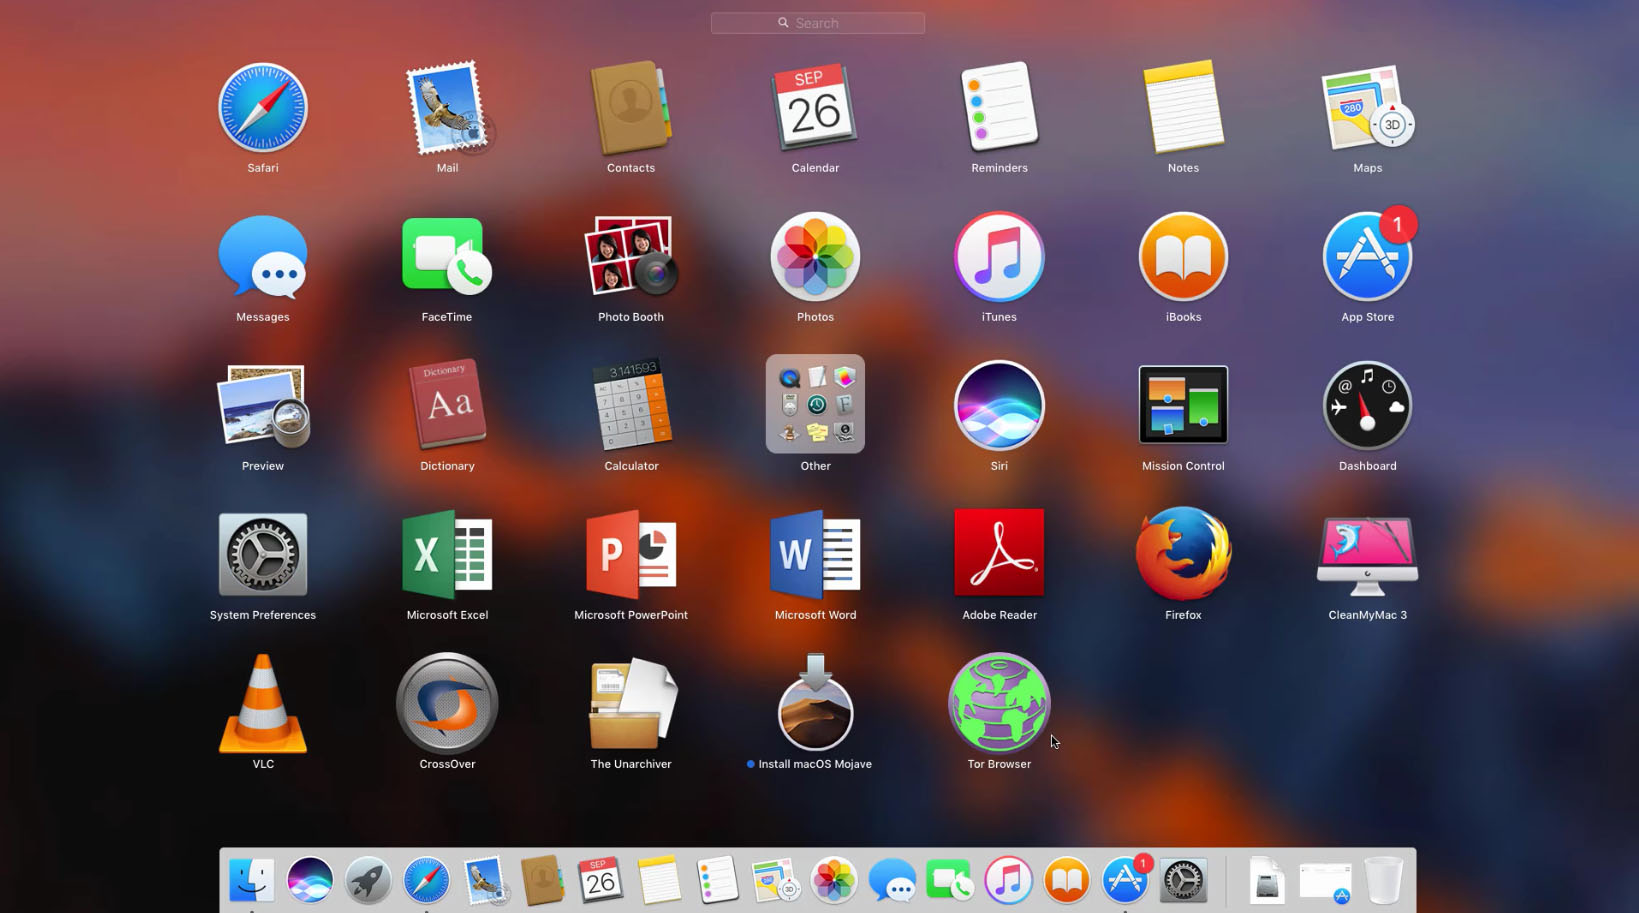
5. Click on Launchpad and double-click the Tor Browser to open it.
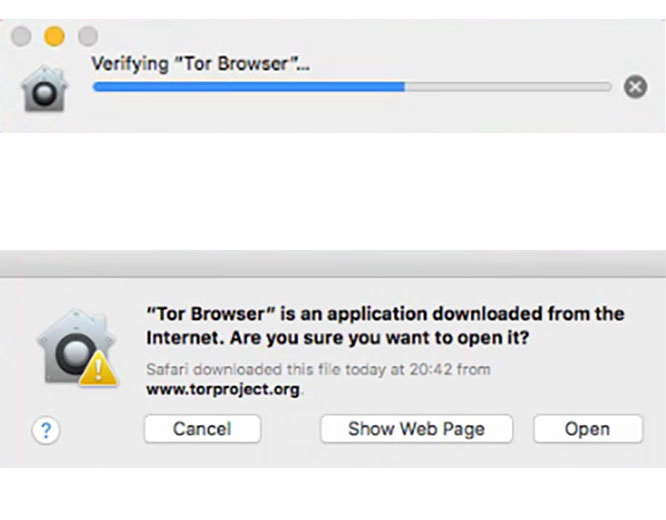
And you get an alert will pop up to ask you if you’re sure you want to open “TorBrowser.app” is an application downloaded from the internet. Are you sure you want to open it?“. Click on Open.
When you first time launches the Tor Browser, you have to configure some settings it will ask you how it should connect to the Internet. After you configure and launch the Tor Browser, it will continue to connect the Tor network without any additional configuration.
Open the Tor Browser in macOS
Launch the Tor Browser. After that click on Connect directly to the Tor network.

The Tor Browser will now establish a tor circuit for you in the Tor network. This may take some time to run the Tor Browser for the first time. There will be a progress bar to establish the connection. After that, the Tor Browser will open. Now you can use Tor Browser to access the websites safely and anonymously.
Video
To install and Setup Tor Browser in macOS X Step by Step (Working 2018) you can watch the following video and also subscribe to our YouTube channel to support us.
Finally
Thank you for reading this post and keep connected to TECH DHEE to continue enjoying excellent posts. Share your views about this post in the comment section below. If you still have any queries, throw it in the comment section. If you find this post helpful, don’t hesitate to share this post on your social network. It will only take a moment and also it is quite easy and useful for others.