In this article, I will show you to install Kali Linux 2020.1 on Virtual Box in two ways. First who takes 30 to 40 minutes to install the Kali Linux and the second method is you can install Kali Linux within 12 minutes. I will also show you the major change that comes with a new release. Install Kali Linux in VirtualBox is very easy and we will learn how to do it.
"Kali Linux, an Advanced Penetration Testing Linux distribution used for Forensics and Penetration Testing, and network security assessments."
"The quieter you become, the more you are able to hear"
Kali Linux 2020.1 Release
On 28 January 2020, Kali has announced a new version of this year, Kali Linux 2020.1, but the first version comes with some bugs so 13th February 2020 Kali released Kali 2020.1a with fixing a minor bug which xserver-Xorg issue in simples language tty1 GUI error. And 18th March 2020 Kali release Kali 2020.1b with fixing offline setup issue. So in this article, I will cover how to install Kali Linux in Virtual Box.
Non-root
The first generation on Backtrack to Kali Linux 2019.4 default credential has been root/toor. Now, this is no more. Kali Linux no more using root account as a default user account in Kali Linux 2020.1. The default user account is now a standard user.
root/toor is no more. Now default username and passoword is kali/kali
Kali Linux as your main OS?
Now you can use Kali as your main OS but Kali is not encouraging and now promoting as you have to use the main OS, but you can use it is totally depends on you. But who knows about Kali Linux they can use this as the main OS without creating other users manually.
Kali-Undercover Mode
Kali Linux introduced Kali-undercover in Kali Linux 2019.4 and now it continues with Undercover. Kali-undercover now comes with full look like windows 10 with new icons etc.
How to enable the kali-undercover mode in Kali:
kali-undercover

Kali Linux Installer Images
Now Kali Linux creates a single installer where you can get all the desktop environments like GNOME, Xfce, KDE, MATE, LXDE, That means now you can not get the download link for the particular desktop environment. But if you want to install accept Xfce DE you need the internet to install other desktop environments on your computer.
At the installation time you have the power hat DE you want and what package are you want to install it or not. What tool you want you can install it according to your need.
But here if you want to use Kali as a live OS you have to download Kali Linux (Live) image for this.
Install Kali Linux in VirtualBox
This tutorial teaches you to install Kali Linux 2020.1 on VirtualBox in two way long and short ways.
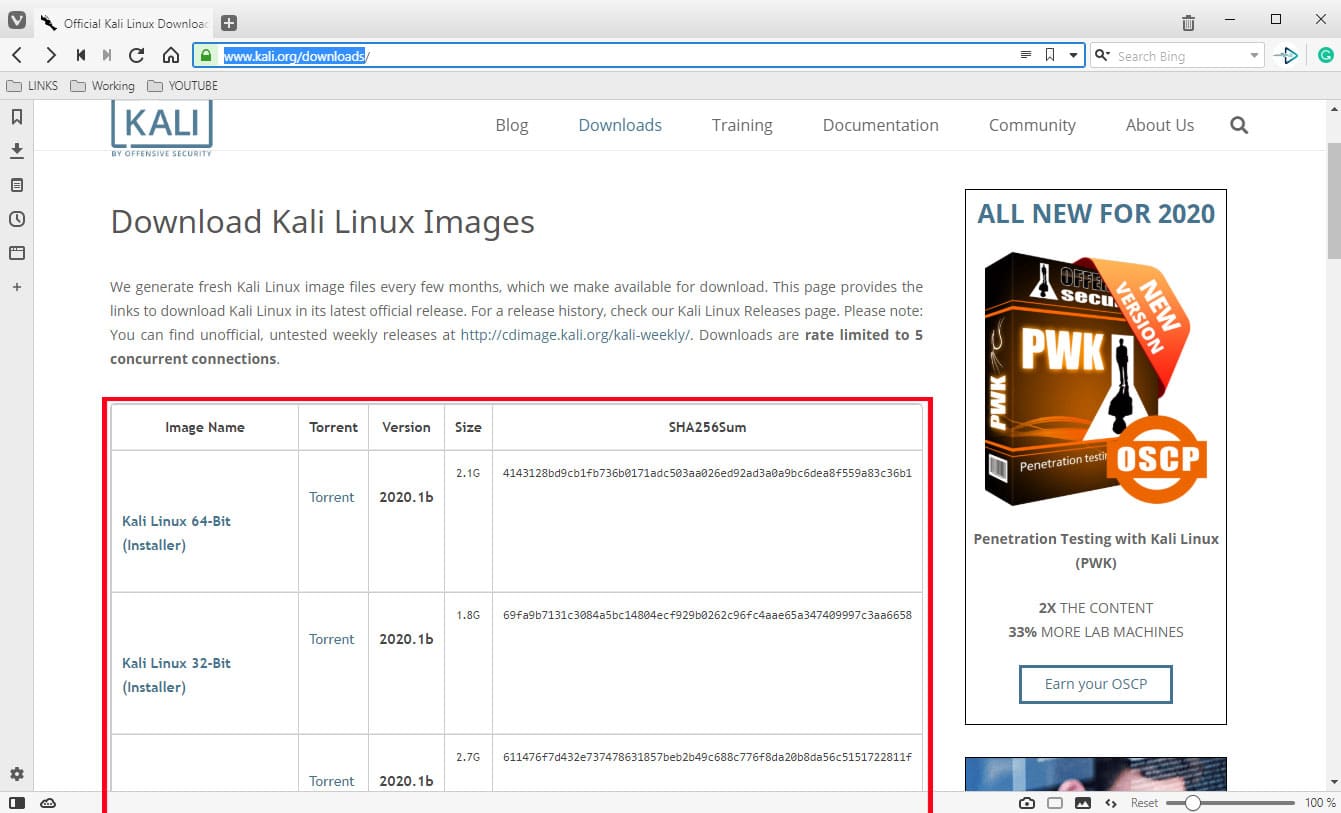
Download Kali Linux
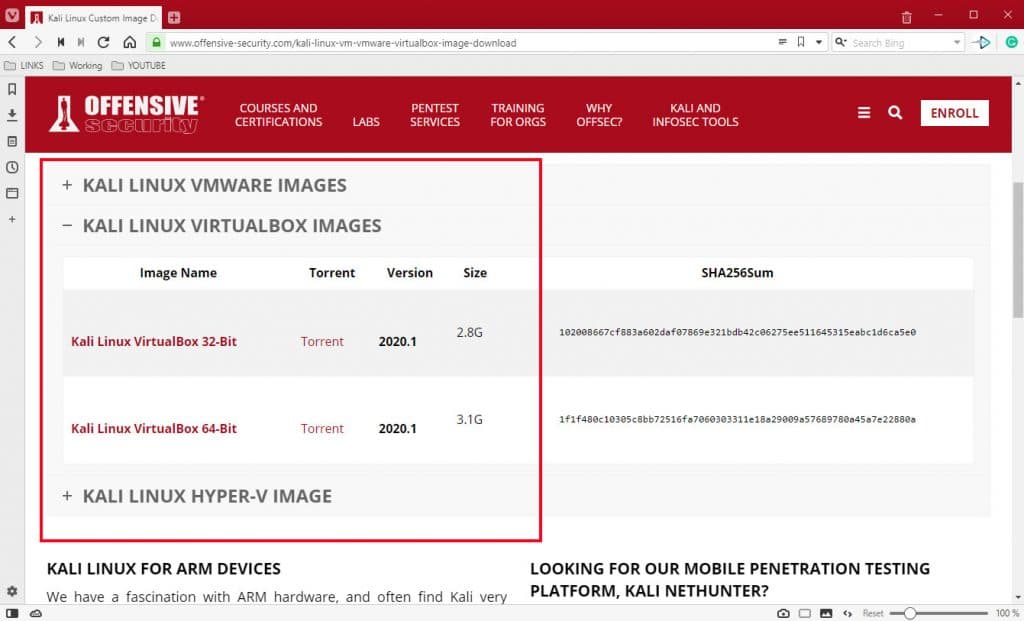
Download the Kali Linux 2020.1 image from the official website, not from other links or any other platform. First, you have to download the latest ISO image file from the official Kali website. In the first method, I choose Kali Linux 64-Bit Installer
Kali Linux 2020.1 Download
You can download VirtualBox from here, and install it in your operating system based on Linux or Windows accordingly.
Or click on this link to go to the video on My YouTube Channel.
Install Kali Linux on Virtual Box Method 1
Create a Virtual Machine
Now open the VirtualBox and Click on “New”
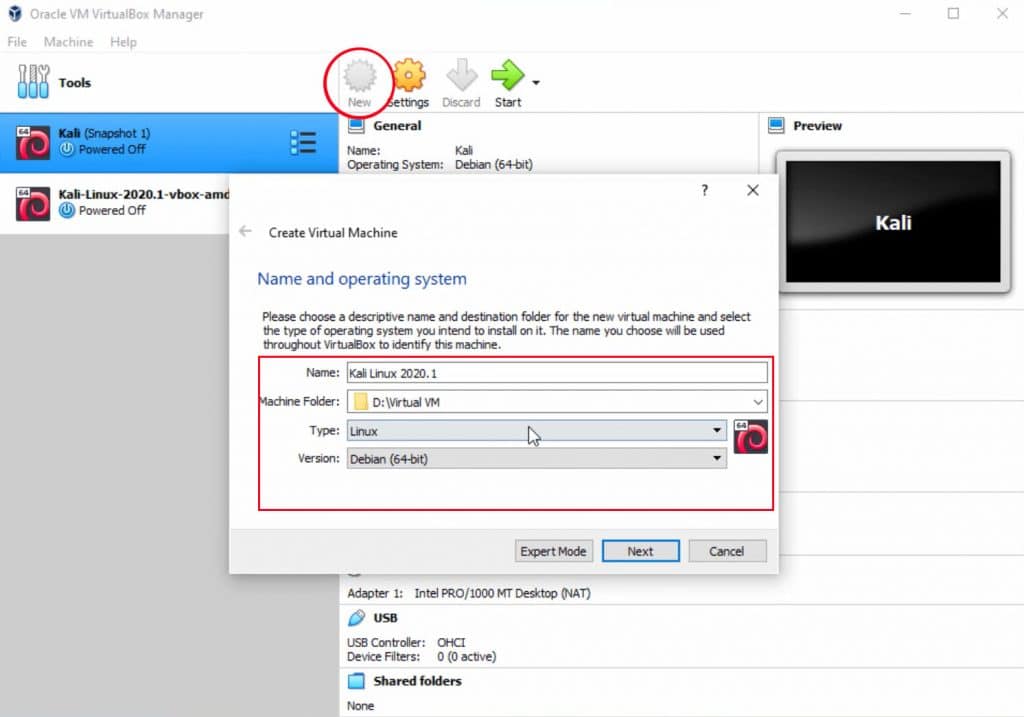 This will open a new window. Give it any name accordingly here I give “Kali Linux 2020.1”. And choose the type “Linux” and version “Debian”. After that, you have to click on “Next“.
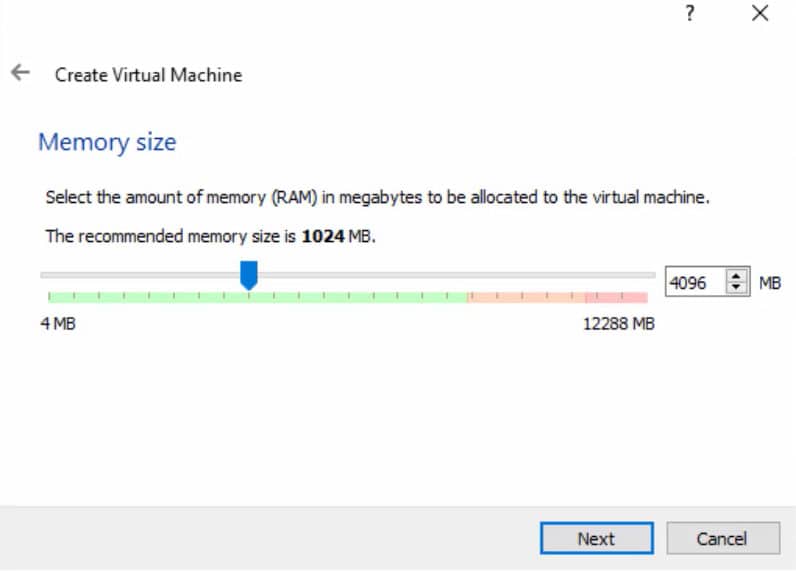
Memory Size
Select the amount of memory (RAM), set at least 1GB of RAM. If your physical RAM is 8GB of RAM, you can set almost 4GB if you are running only on VM at a time, otherwise, you can give accordingly your usage of RAM, but I recommend 2GB of RAM at least you set. After that, you have to click on “Next“.
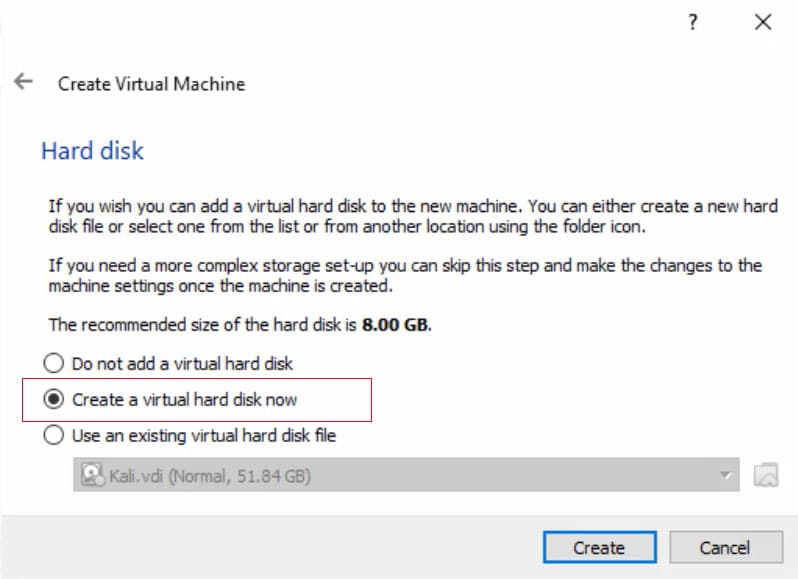
Hard Disk
Here you have to select this option “Create a virtual hard disk now”
And click on “Create”.
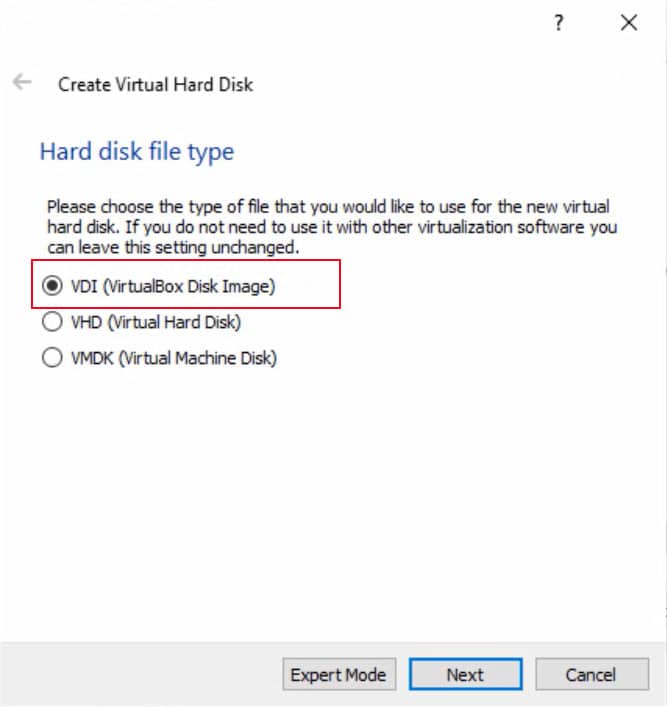
Virtual hard disk file type
Now you have three options you can create any of them but I recommend choose “VDI (Virtual Disk Image)” file type.
Click on “Next”
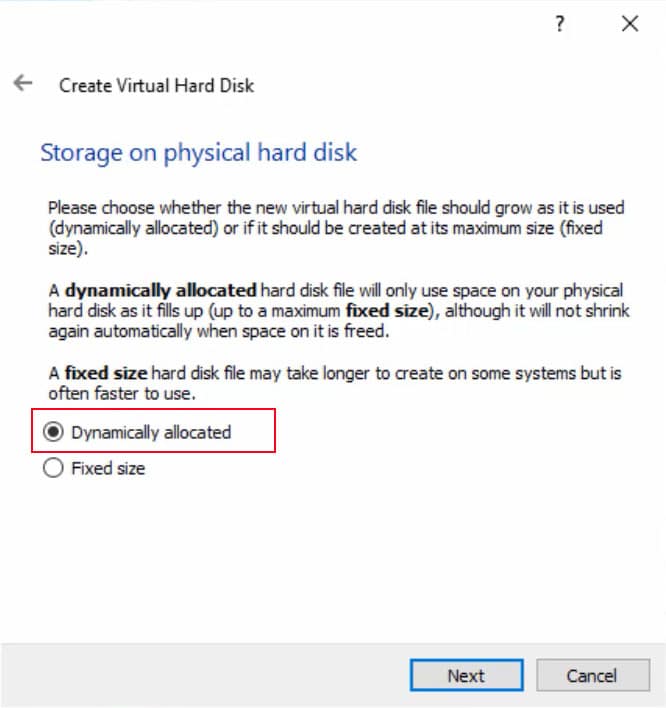
Storage on the physical hard disk
The advantage of this option is to saves the space in your physical hard drive. A dynamically allocated hard disk fill only use space on your physical hard disk up to a maximum size which is set by you. Now hit the “Next” button.
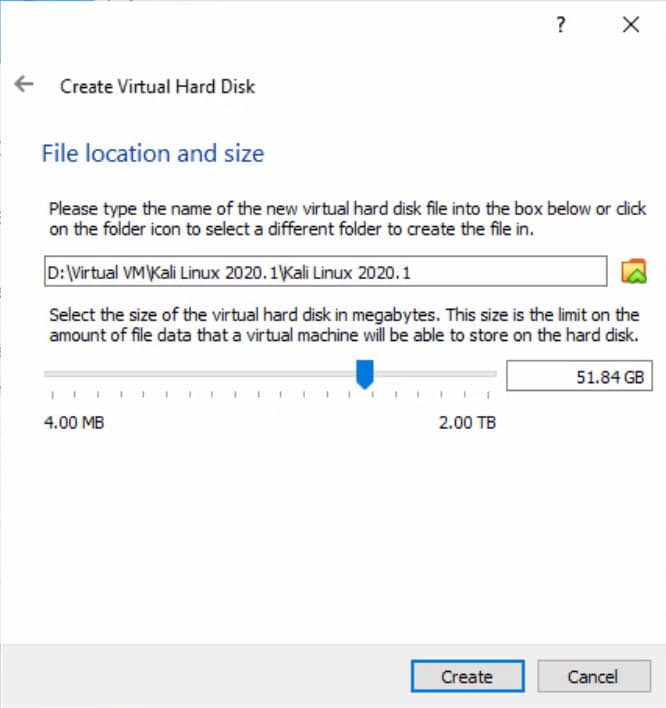
File location and size
A minimum of 20GB disk space for the Kali Linux install. In my case I give the size for my virtual hard disk is 50GB+.
Click on
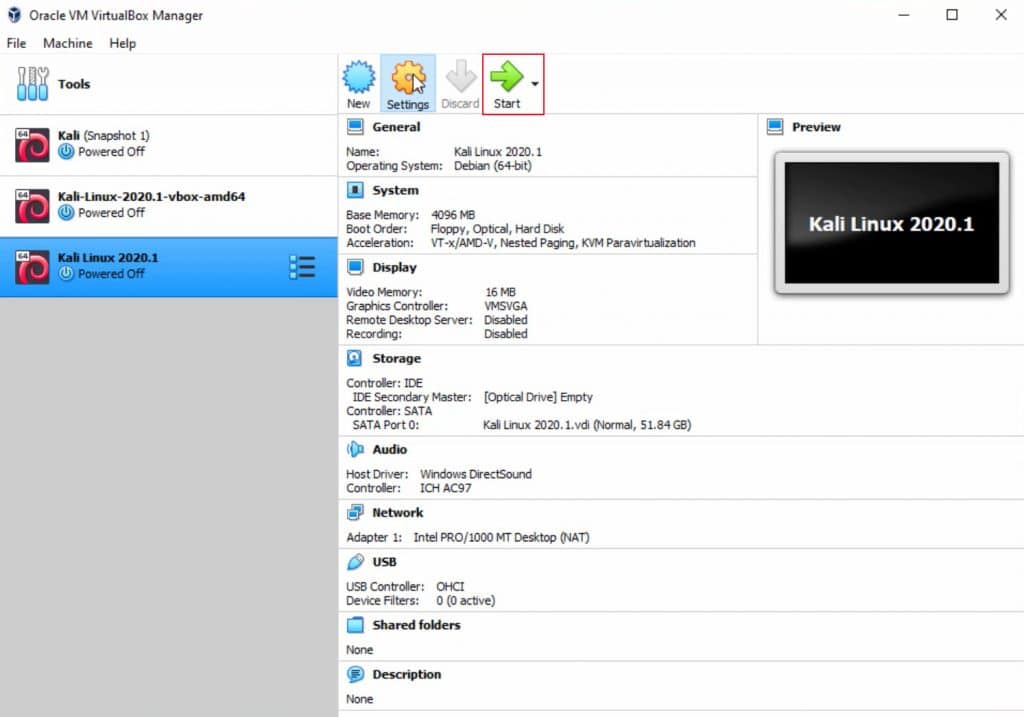
Now your virtual machine is almost ready to install the Kali Linux, but here you can adjust some settings accordingly your hardware.
Click on “Settings”

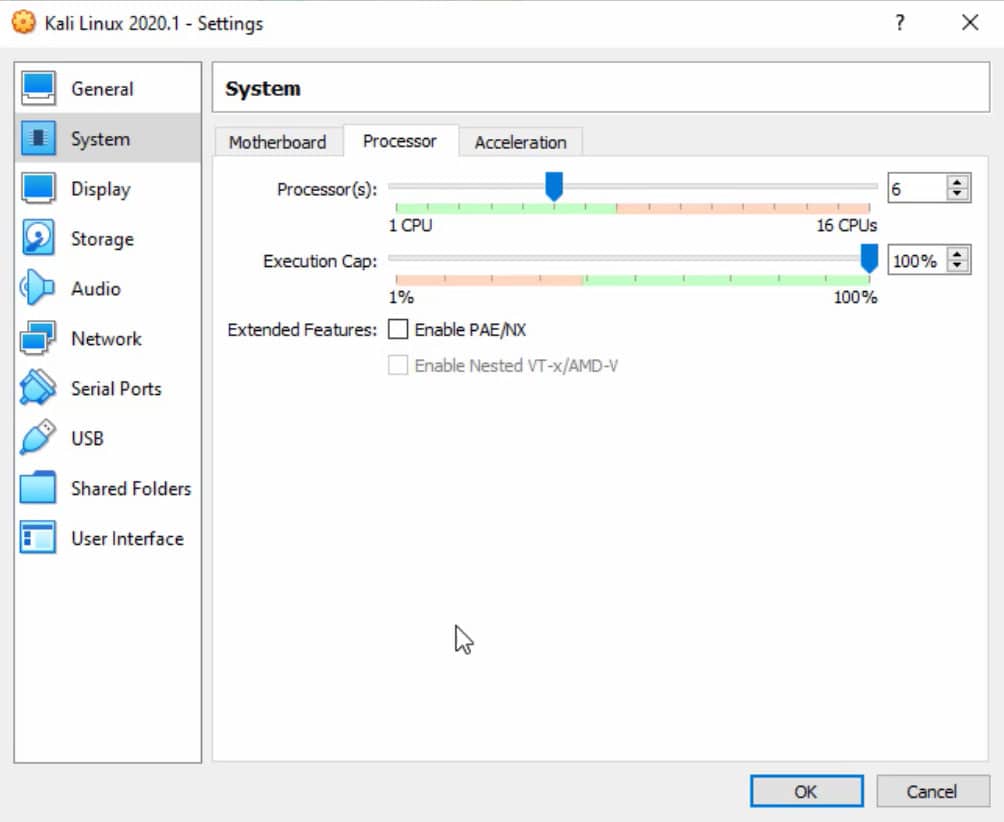
Processor
Under the “System” select the Processor option and there you can select CPU core for your virtual machine according to your hardware.
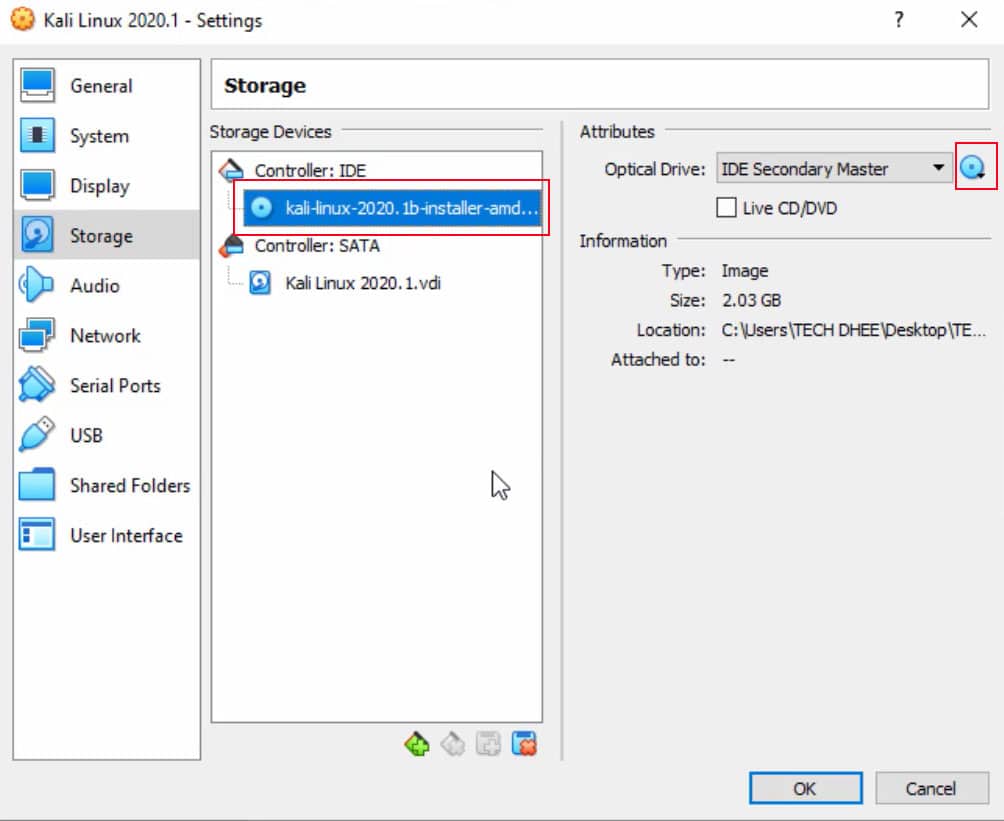
Storage – Choose a disk file
Here you have to choose ISO to click on option 1 and select the Kali Linux ISO that you download and you can choose later also. Click on – “Empty”
Network
Select Network option and under Adapter 1 select the “Enable Network Adapter”, this option already checked you have to select the “Bridged Adapter” option it will connect your host or virtual machine on the same network which is easy to communicate. And choose your LAN or WAN card accordingly.
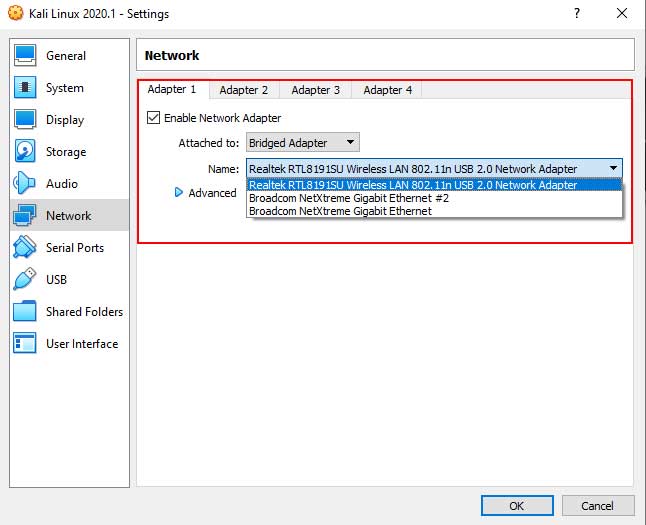
And click on OK
Install Kali Linux on Virtual Box
Now we can install Kali Linux on your VirtualBox, Simply “Start” your virtual machine.
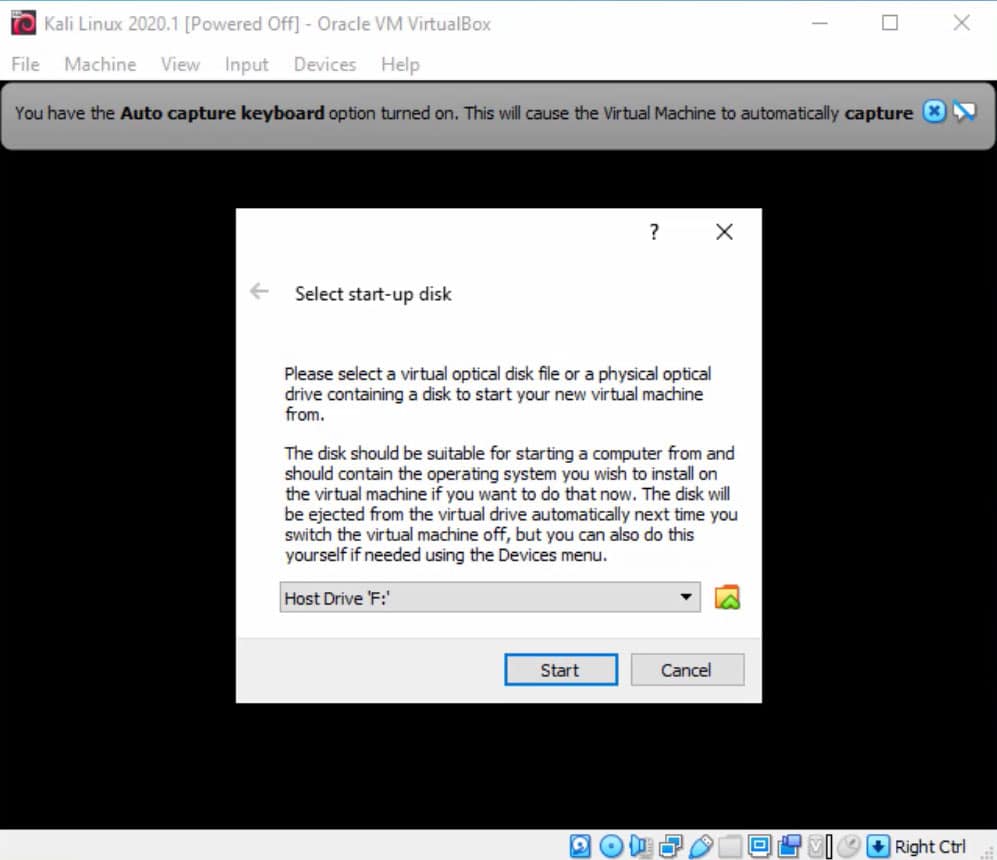
Select start-up disk
Your virtual machine is On and you get new windows, you have to choose the correct ISO and then click on “Start”.
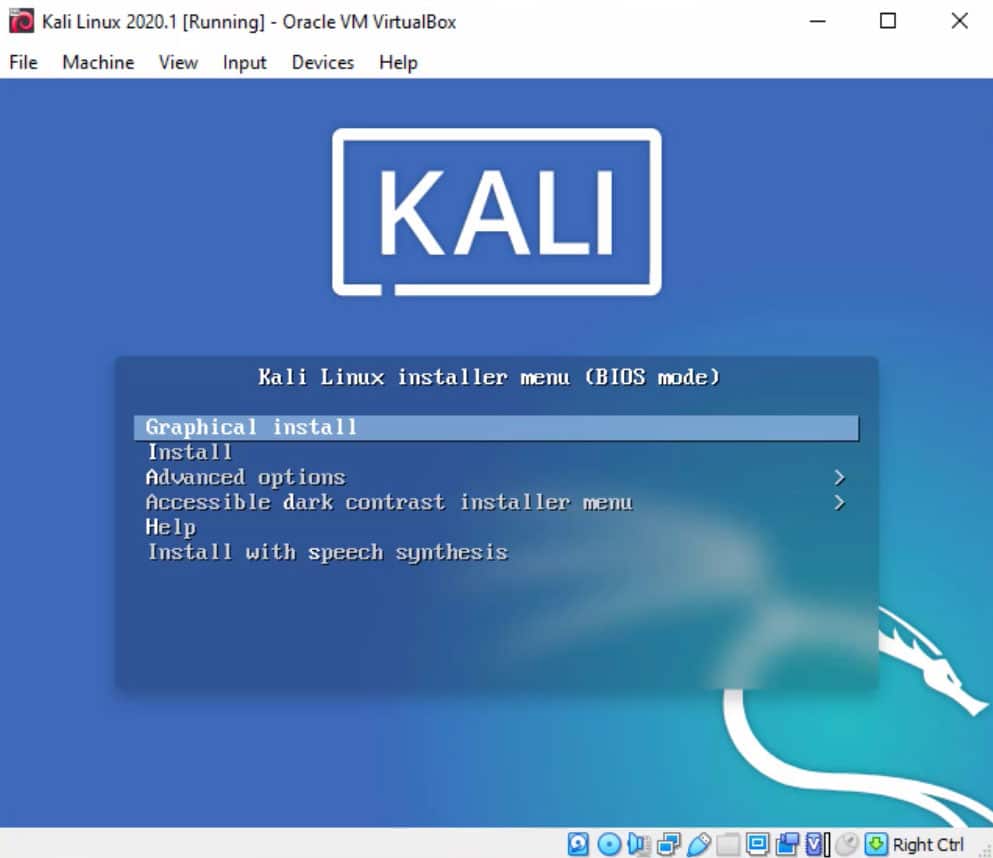
Select your installation method
For the installation you can choose “Graphical install” or “Install”, Here I will choose “Graphical install”.
You can follow the Video where I explain how to install Kali Linux in VirtualBox.
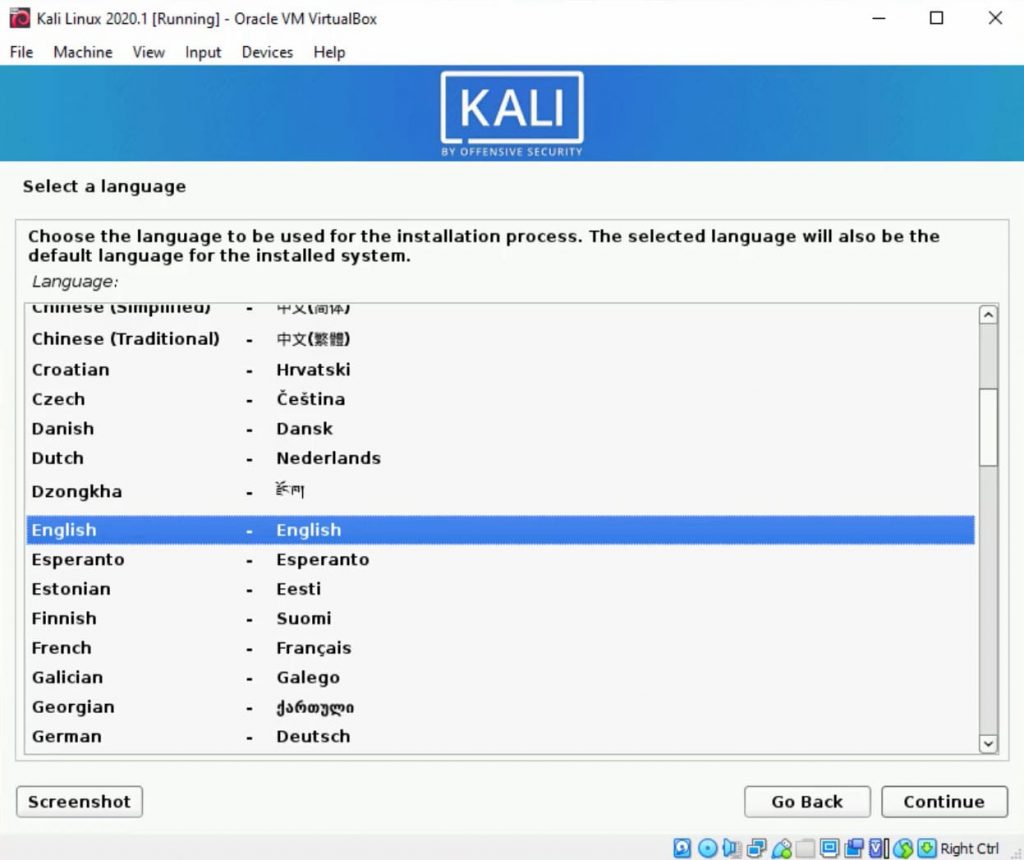
Choose the language for the installation process
I will choose the English you can choose yours.
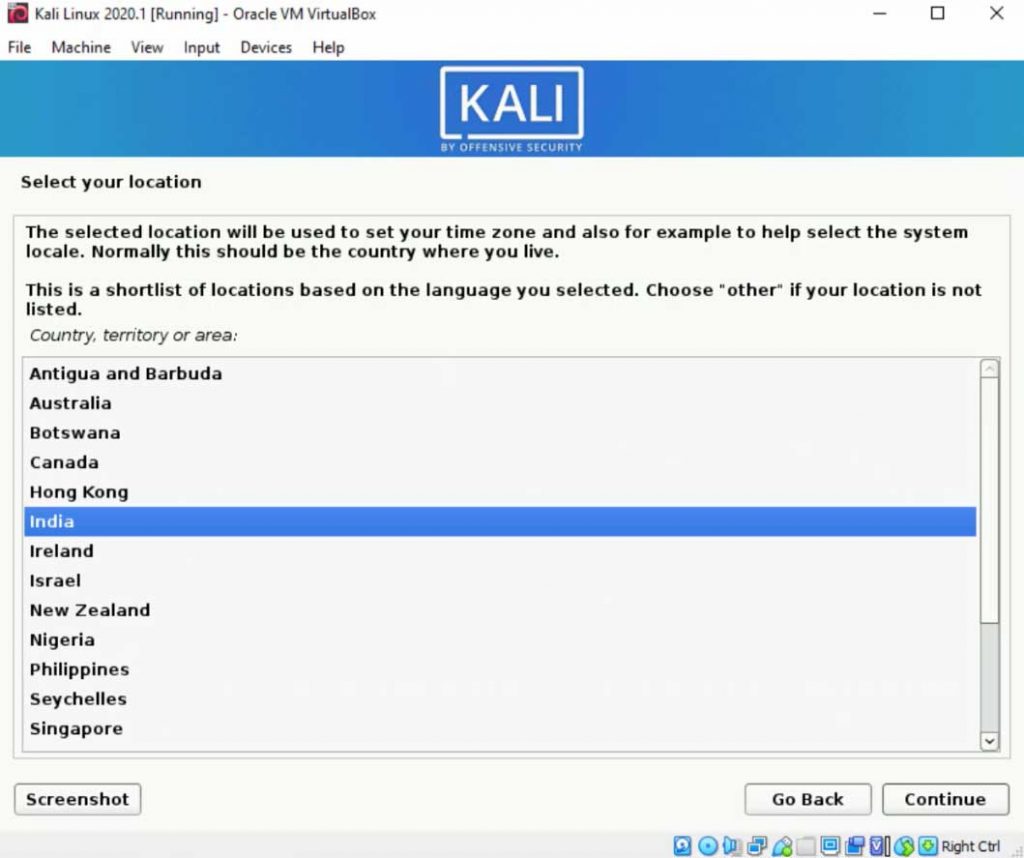
Select your location
Next option is location or time zone, choose your location and hit “Continue”
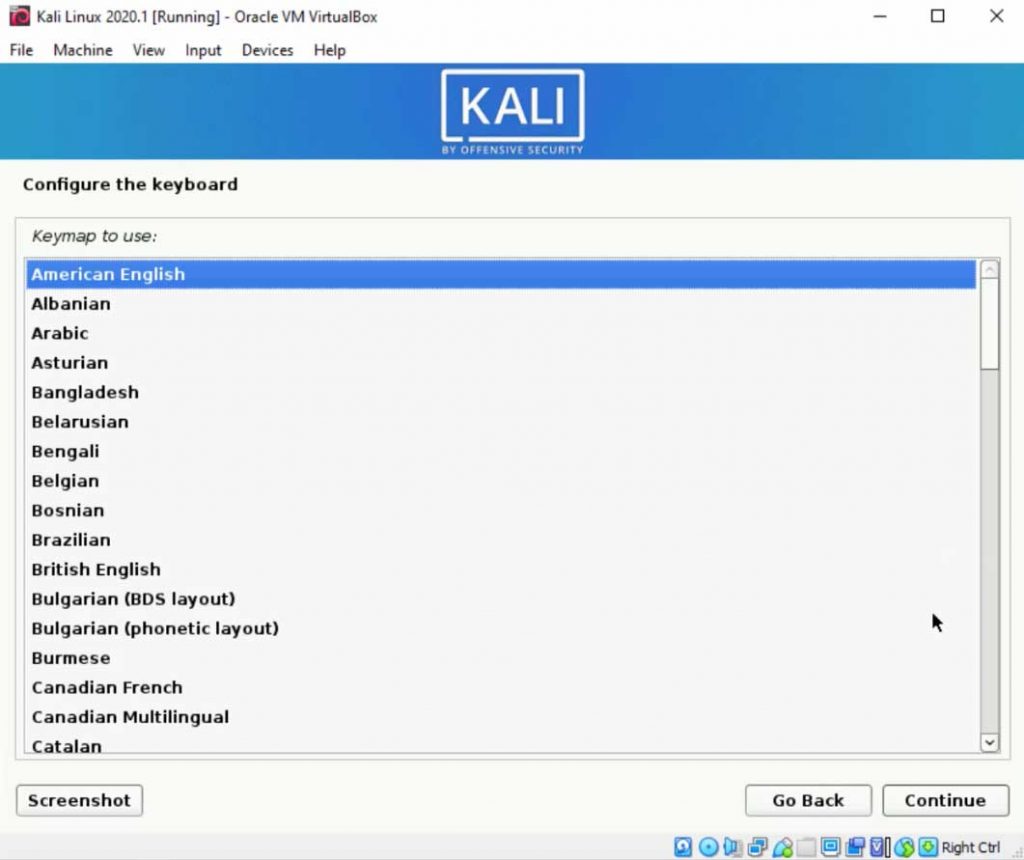
Configure the keyboard layout
Now according to your region or preference choose your keyboard layout.
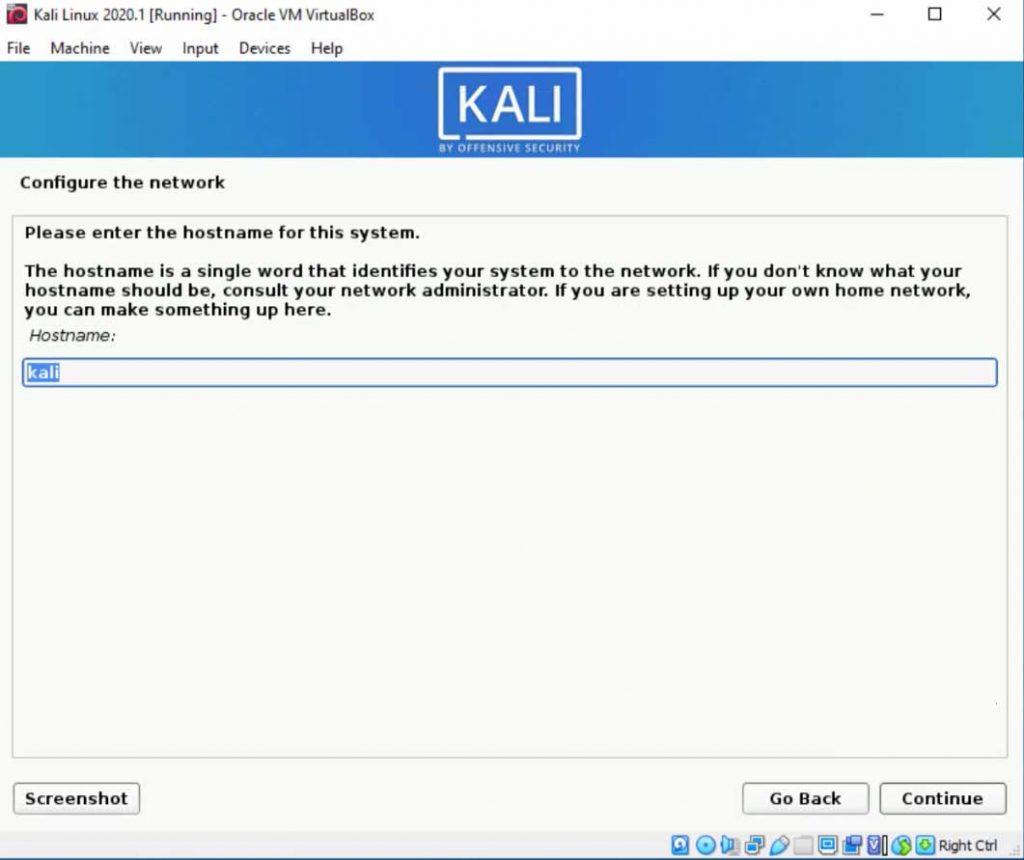
Choose a hostname for this system
Choose your hostname which is a single name and it is the identification of your system in the network. Click on the “Continue” option.
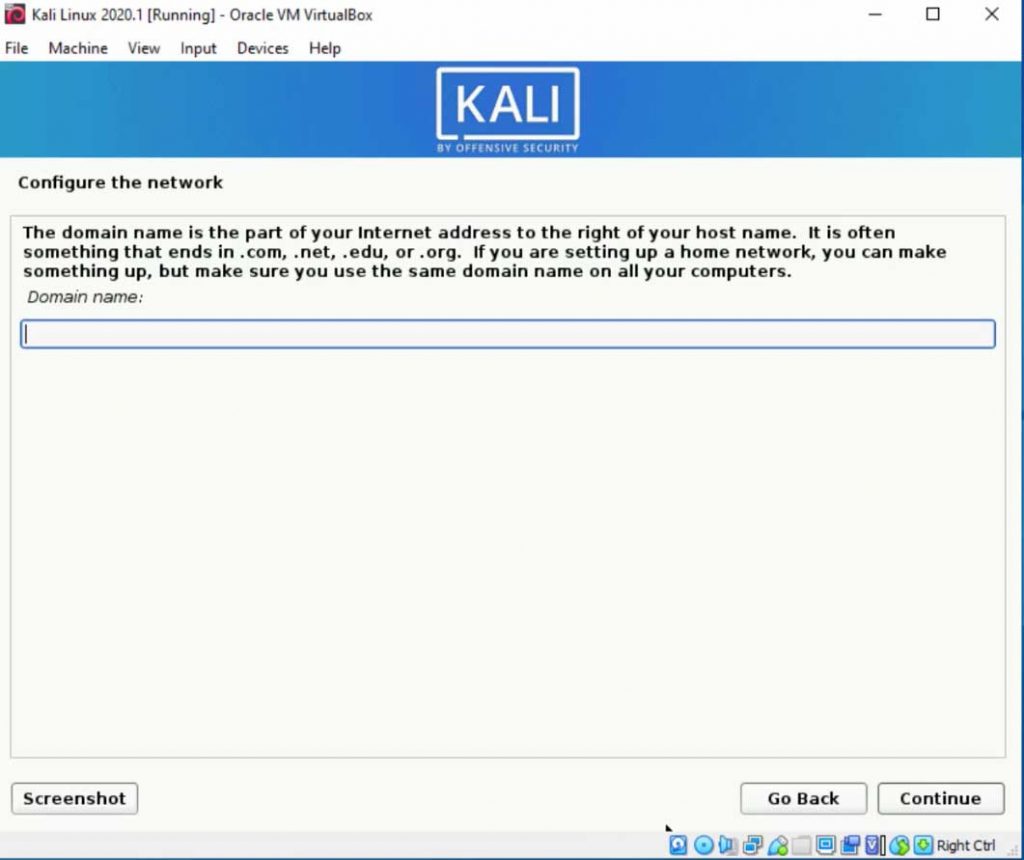
Choose your domain name
if you want to use your own domain you can enter here but I will leave this empty and click on “Next”
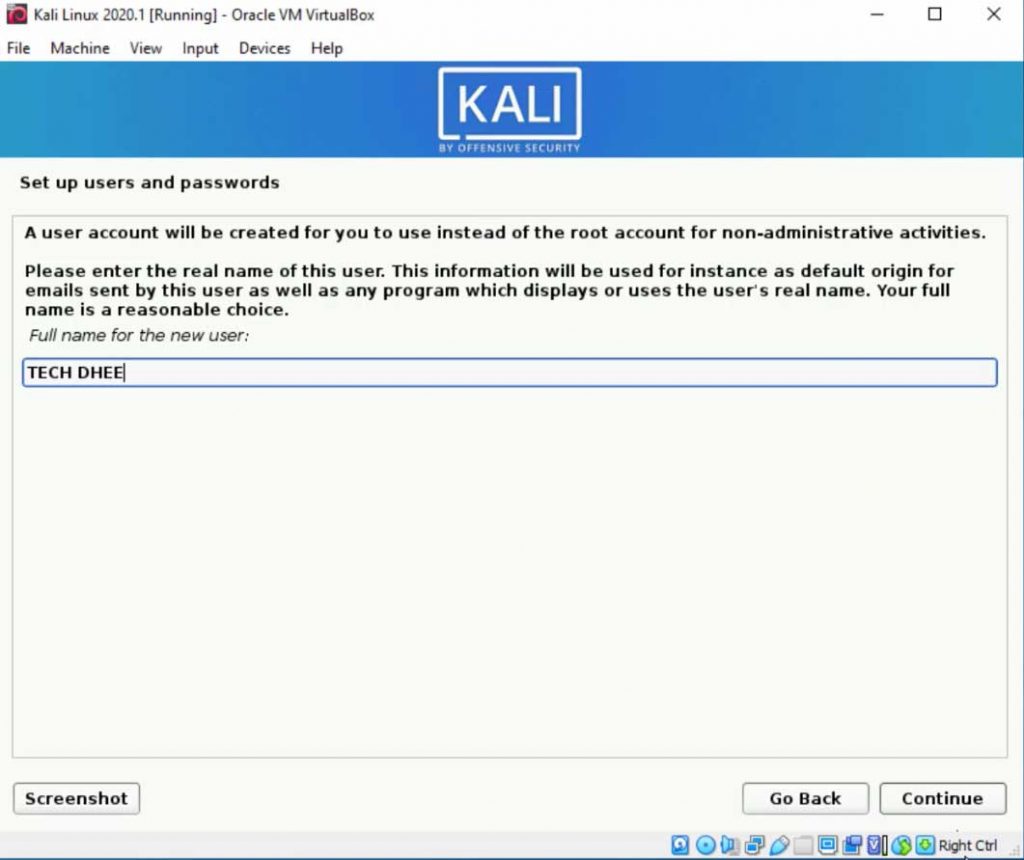
Setup user
Choose your Computer name. As you can know now the root is no longer so you have to create a new user account here, and click on“Continue”
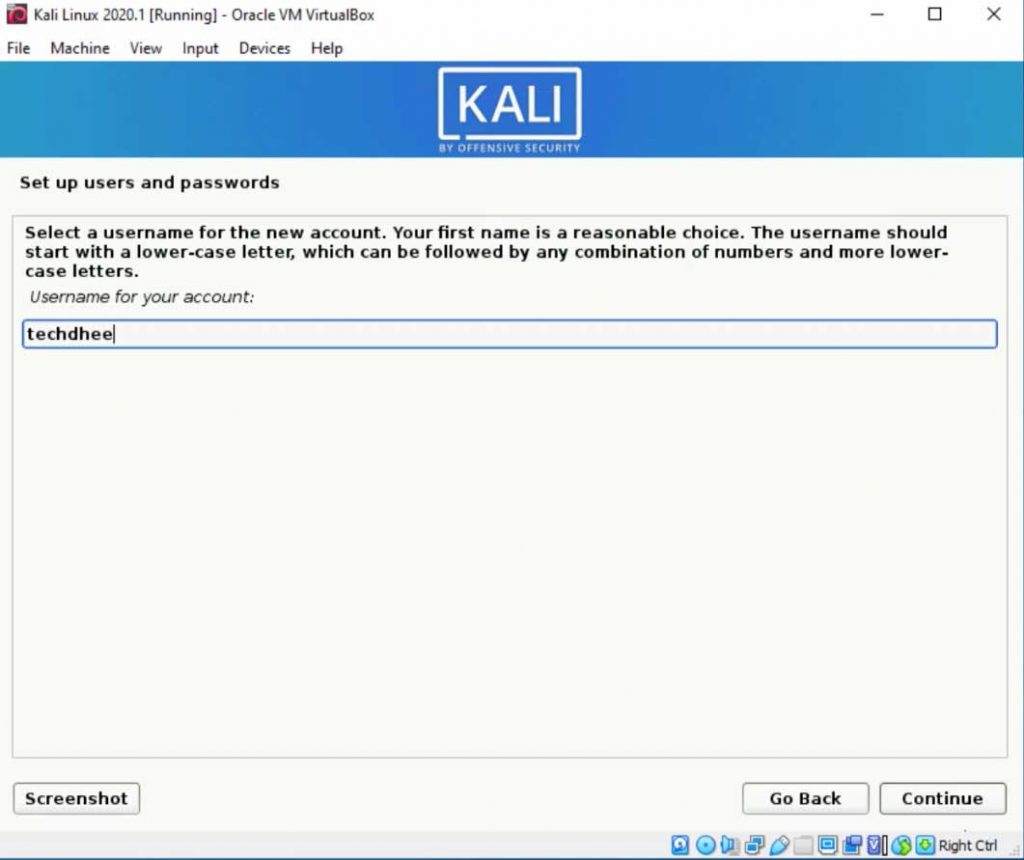
Username for the new account
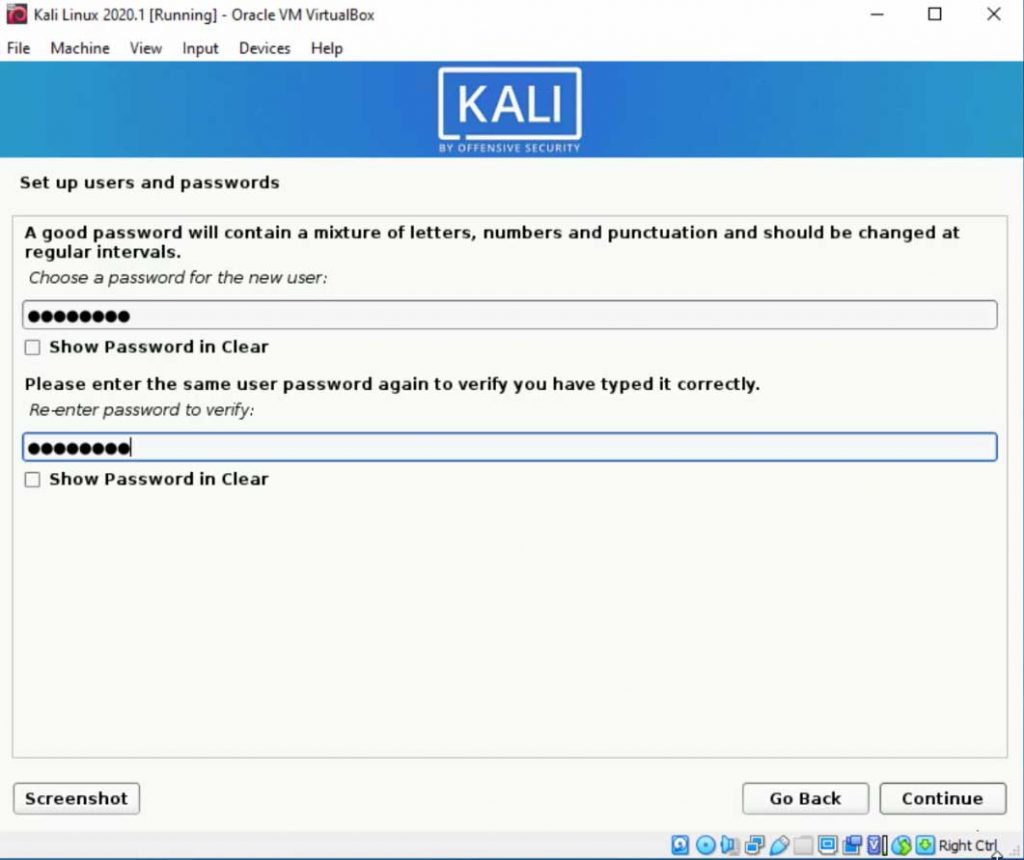
Set new password for new user
Choose a strong password for the new user and click on “Continue”
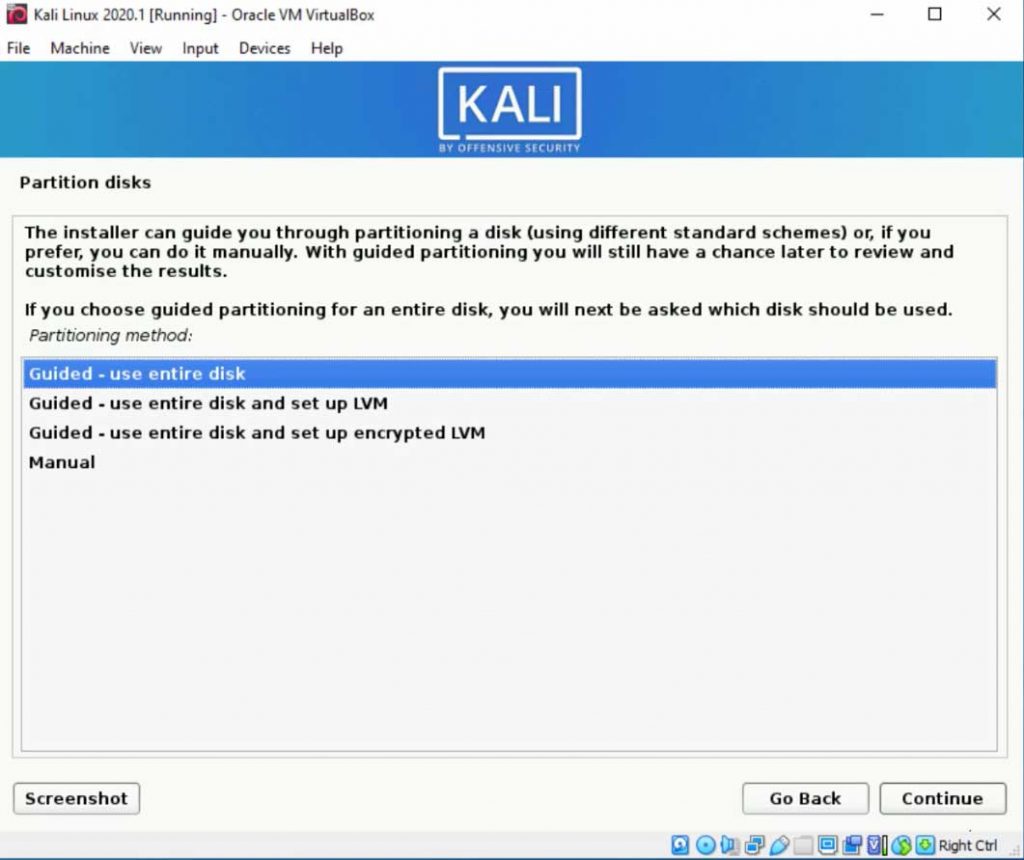
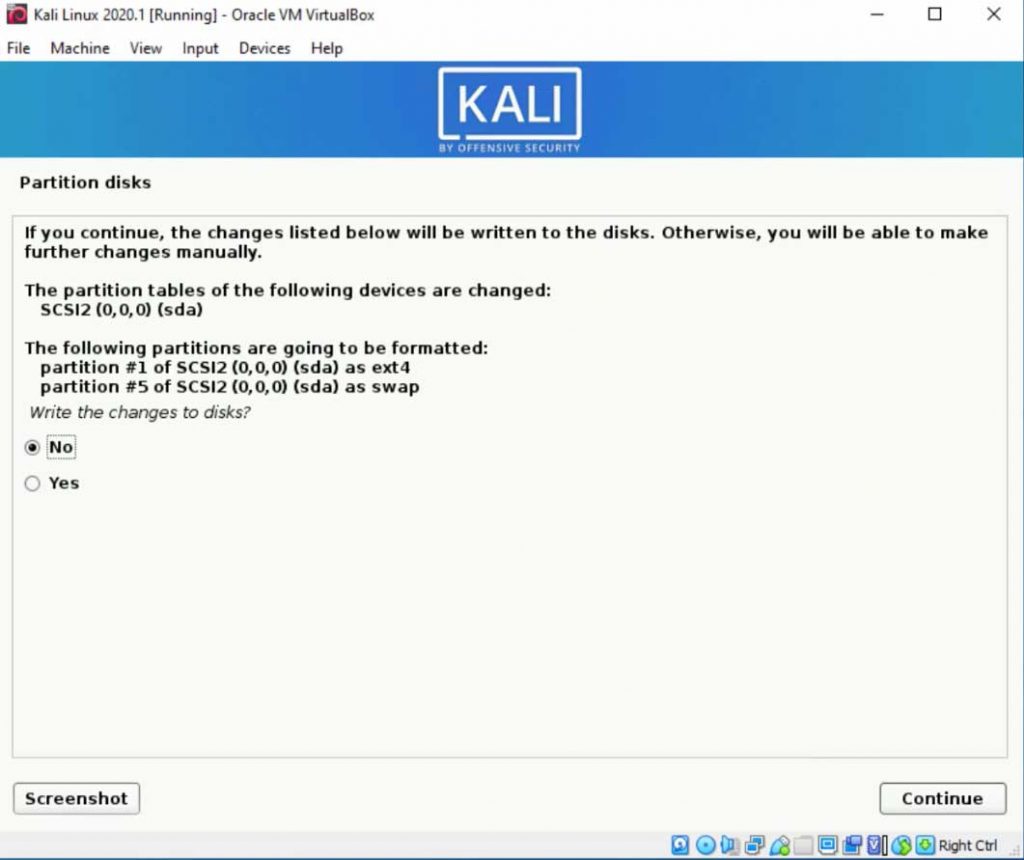
Partition disk
For the Kali Linux in VirtualBox, you can use “Guided – use entire disk” and then click “Continue”
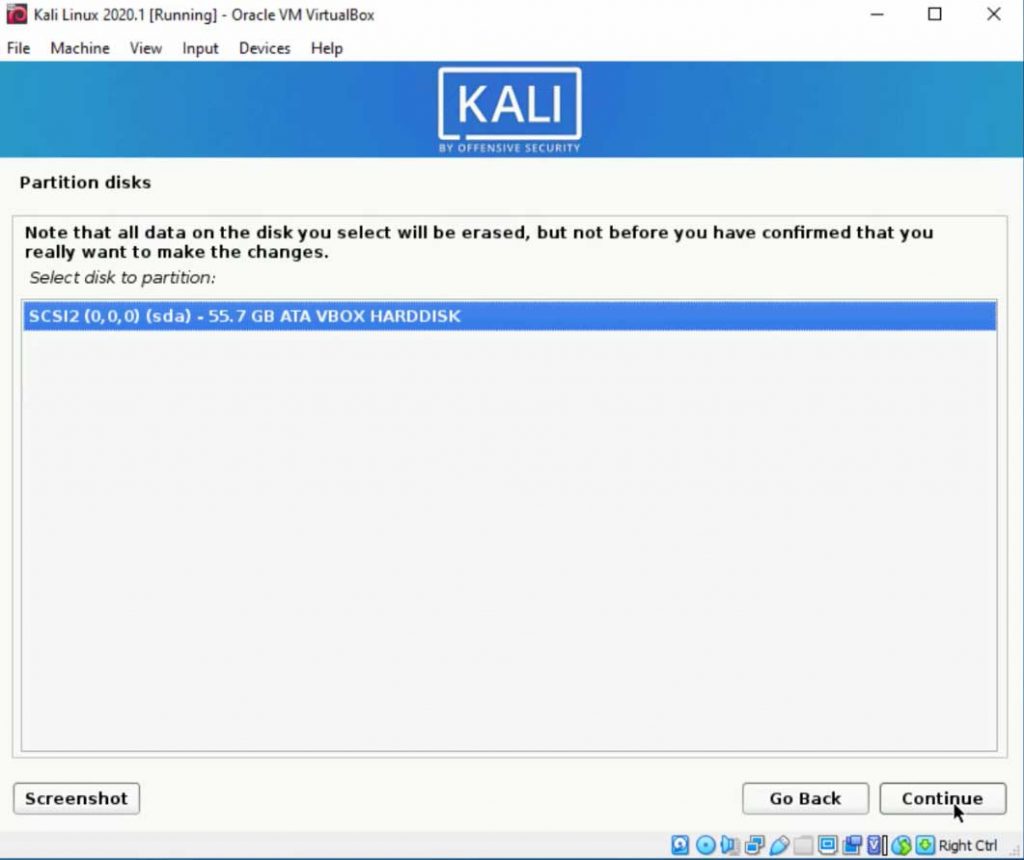
Select disk to partition
Choose your virtual hard disk and click on “Continue”
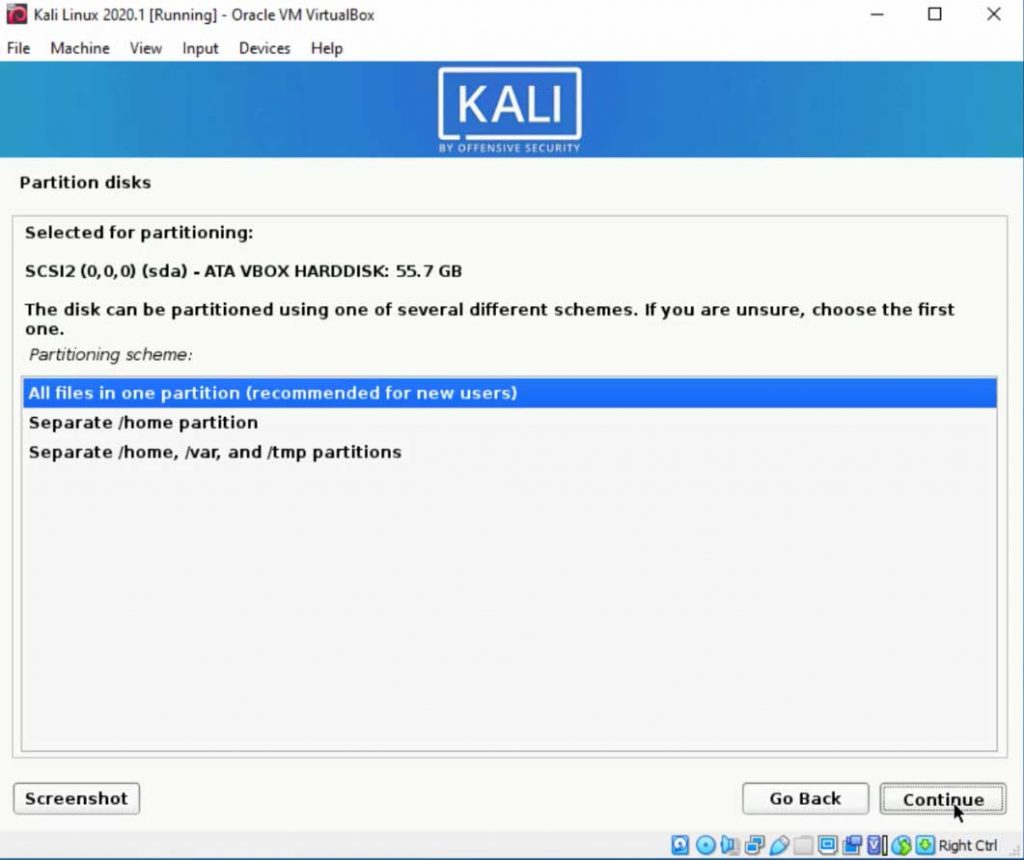
Partitioning scheme
Here we will choose the first option “All files in one partition (recommended for new users)”
Overview of Guided partitioning
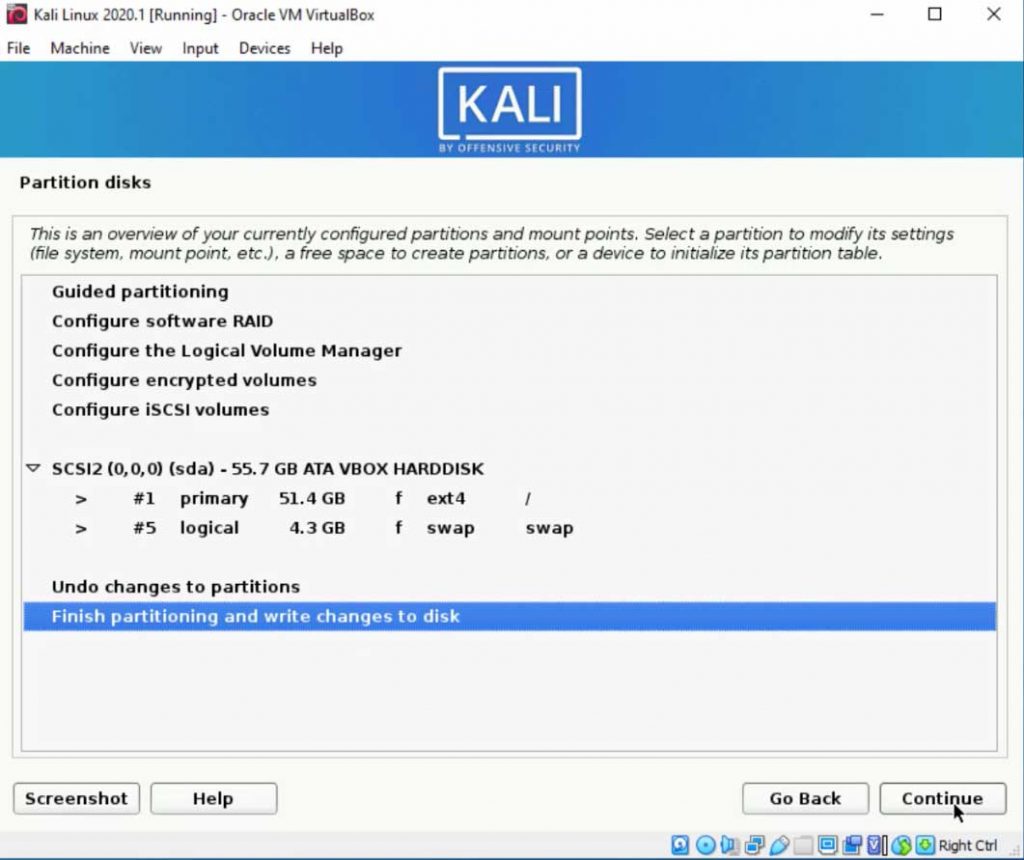
Write the changes to disk
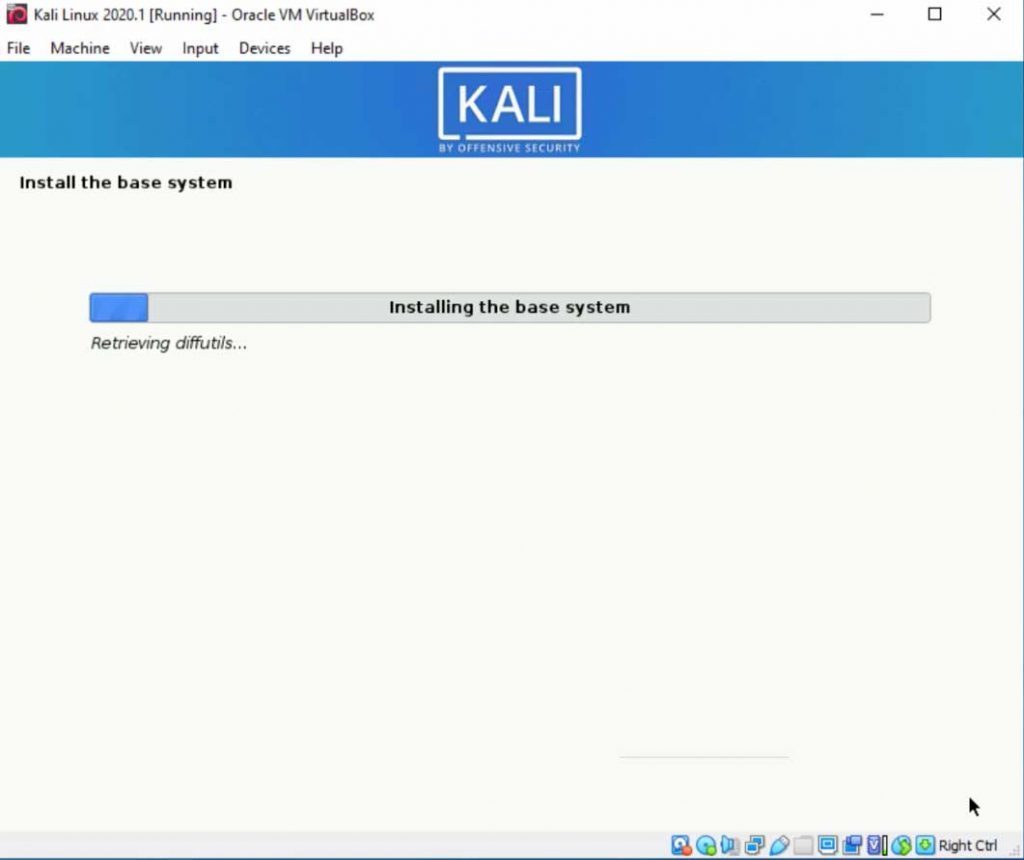
Installing the base system
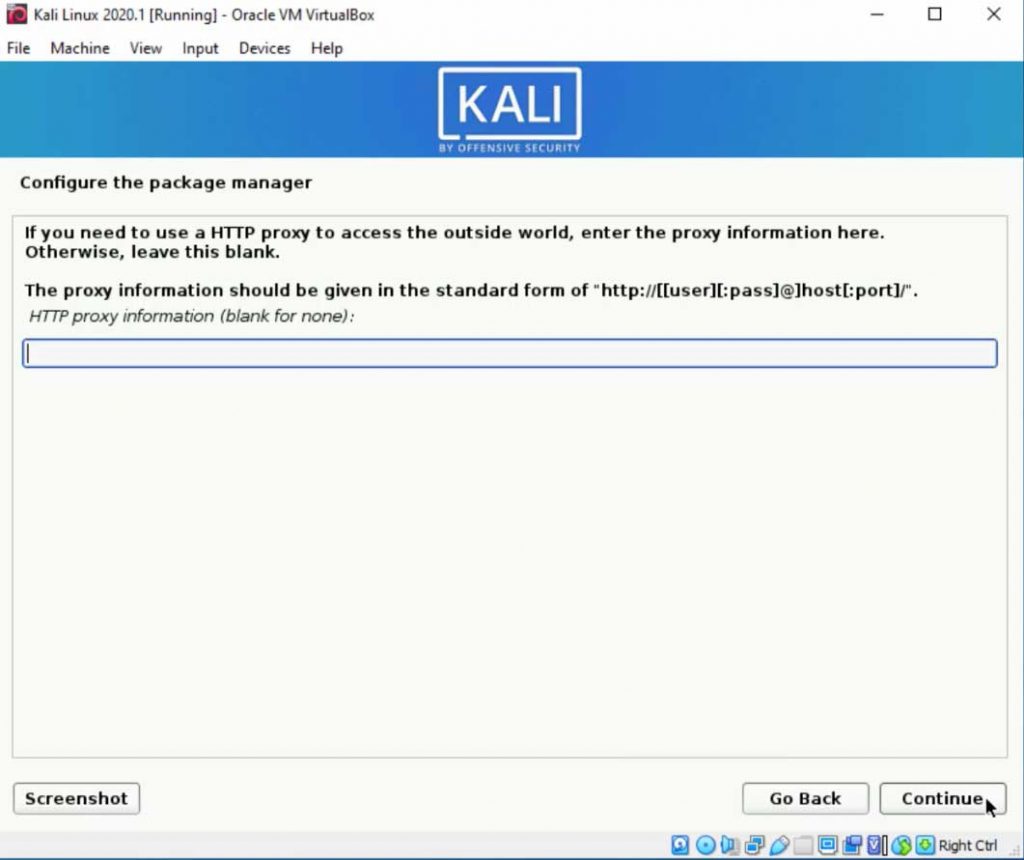
Configure the package manager
We do not need any kind of HTTP proxy so leave it empty and click on “Continue”
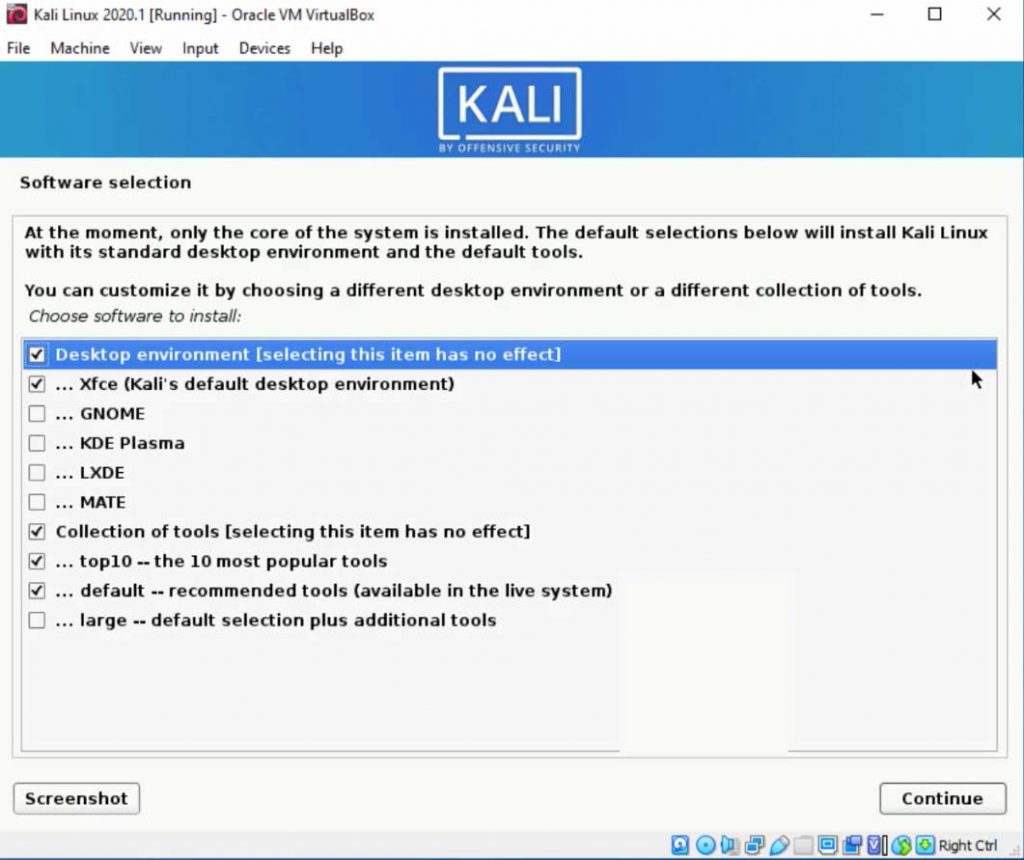
Choose software to install:
Select any option hare you can choose any desktop environment and collection of tools etc. Choose accordingly your internet speed, because all this extra option needs internet to install it so be careful when you select the option, I recommend choosing default options.
Install the GRUB boot loader to the master boot record
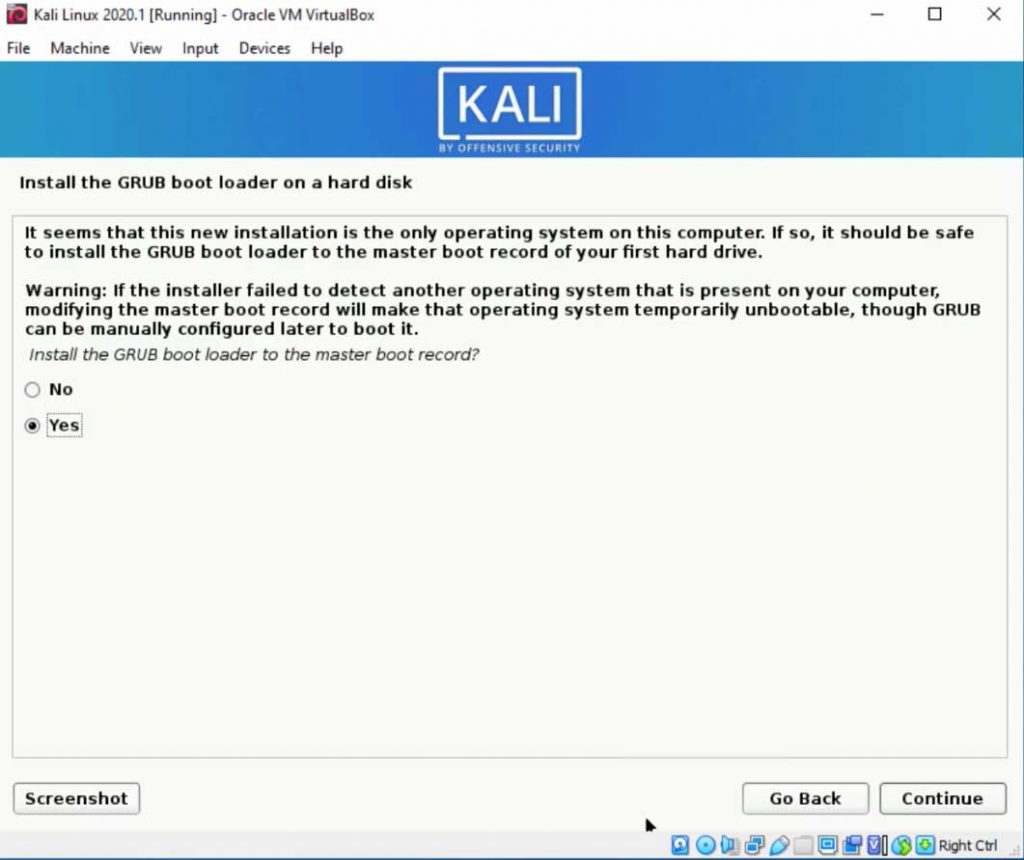
Device for boot loader installation

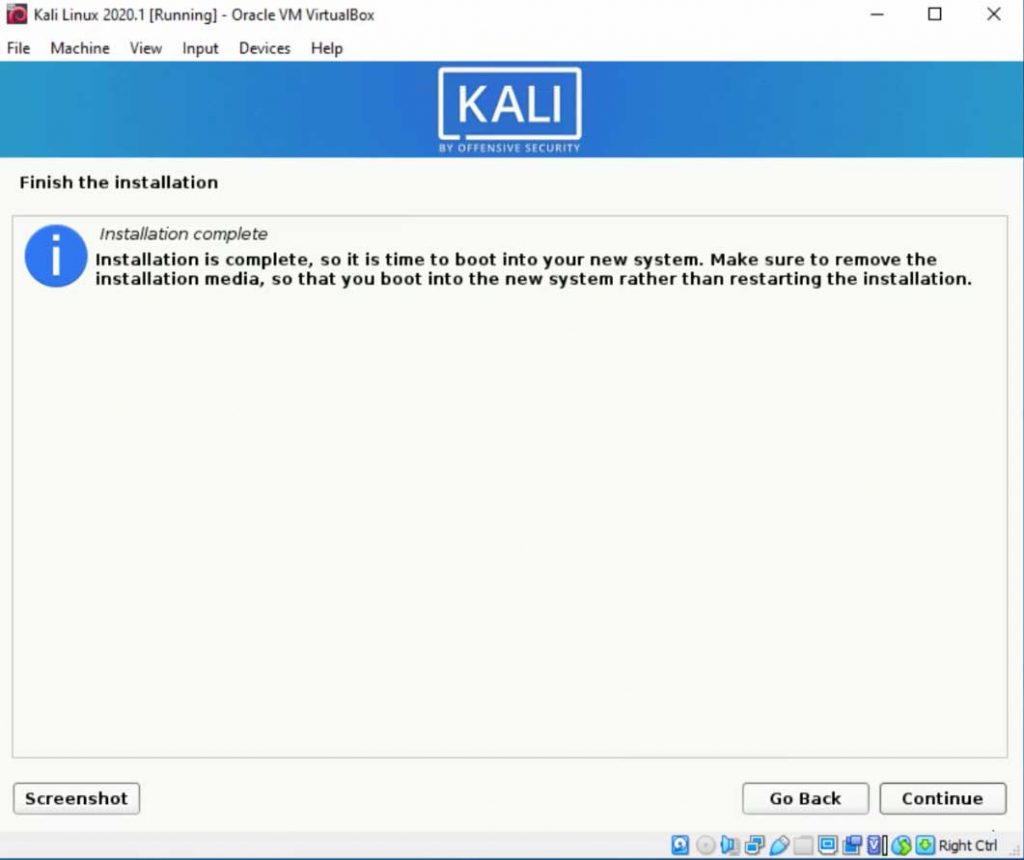
Installation complete
Finally, Installation of Kali Linux 2020.1 is complete, so now time to reboot you virtual machine
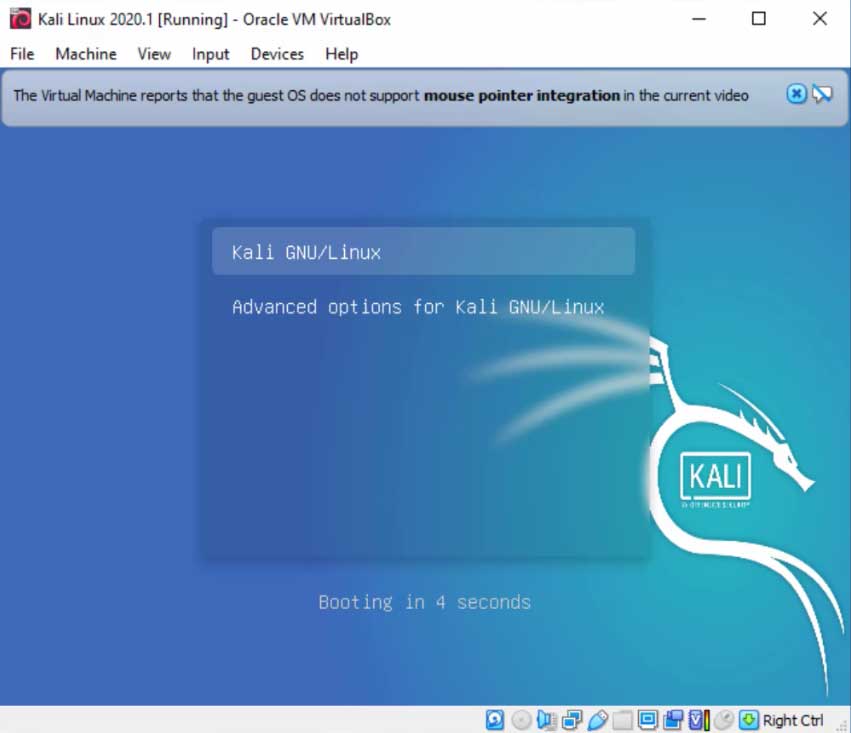
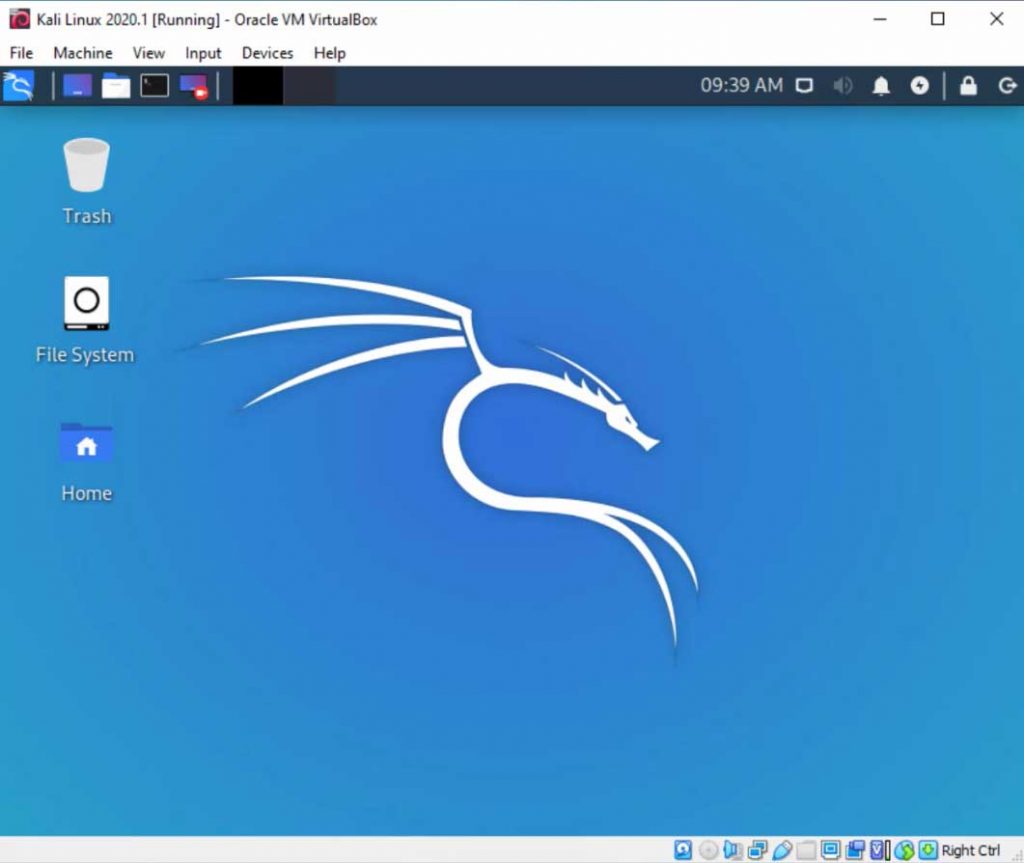
Kali Linux 2020.1 after the install
First booting screen
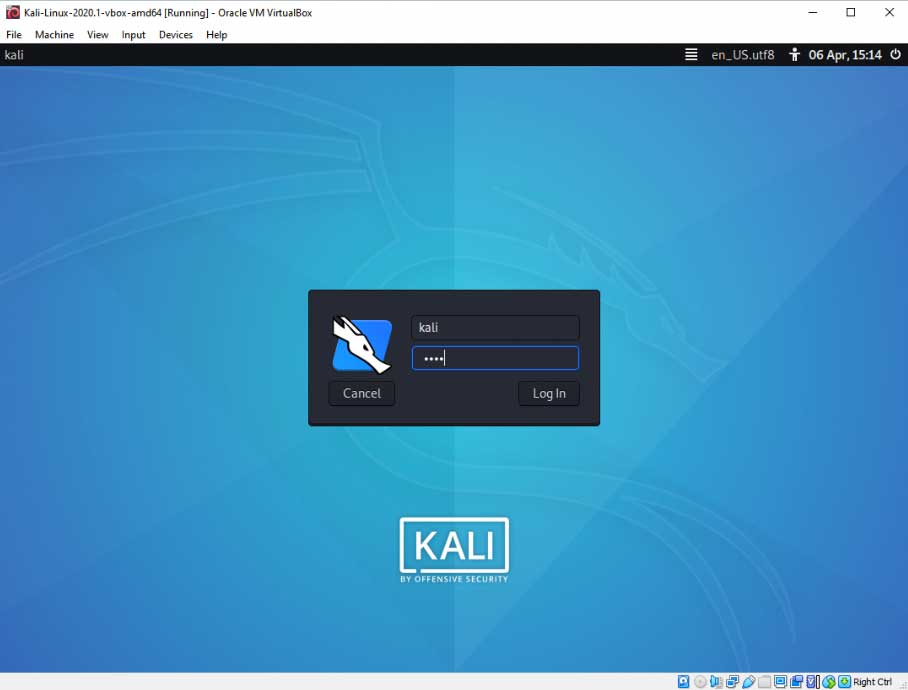
Kali Linux 2020.1 Login Screen
Here enter your username and password
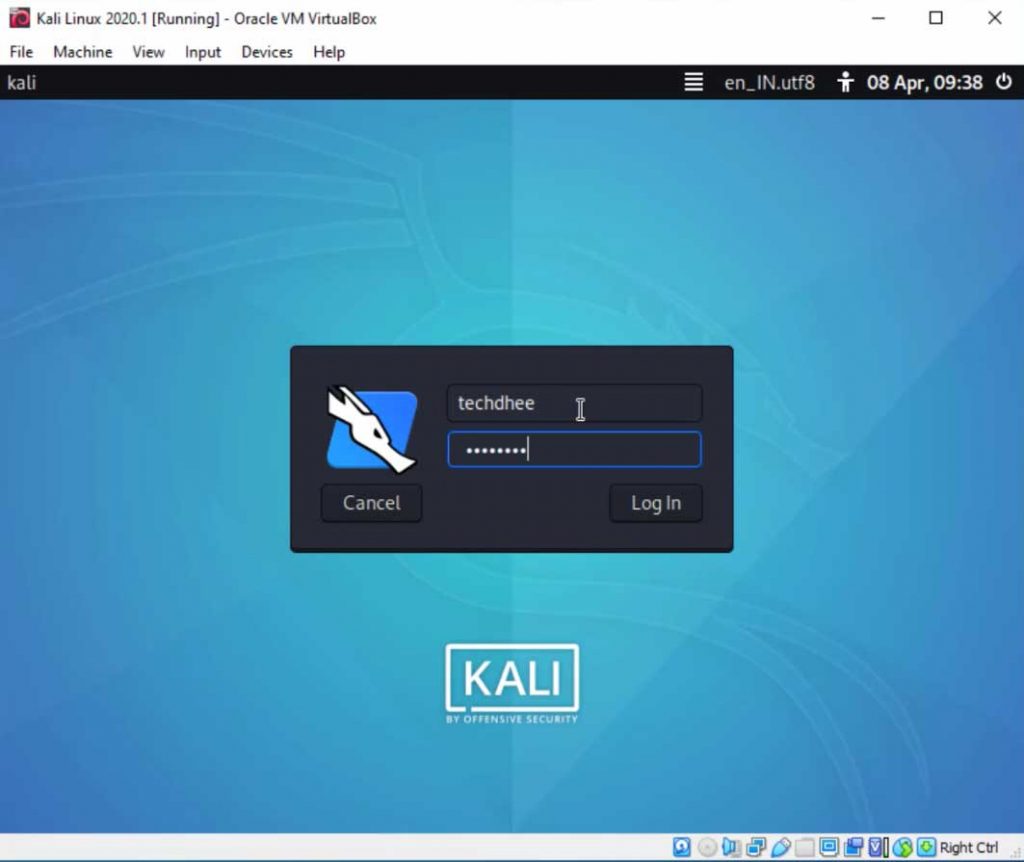
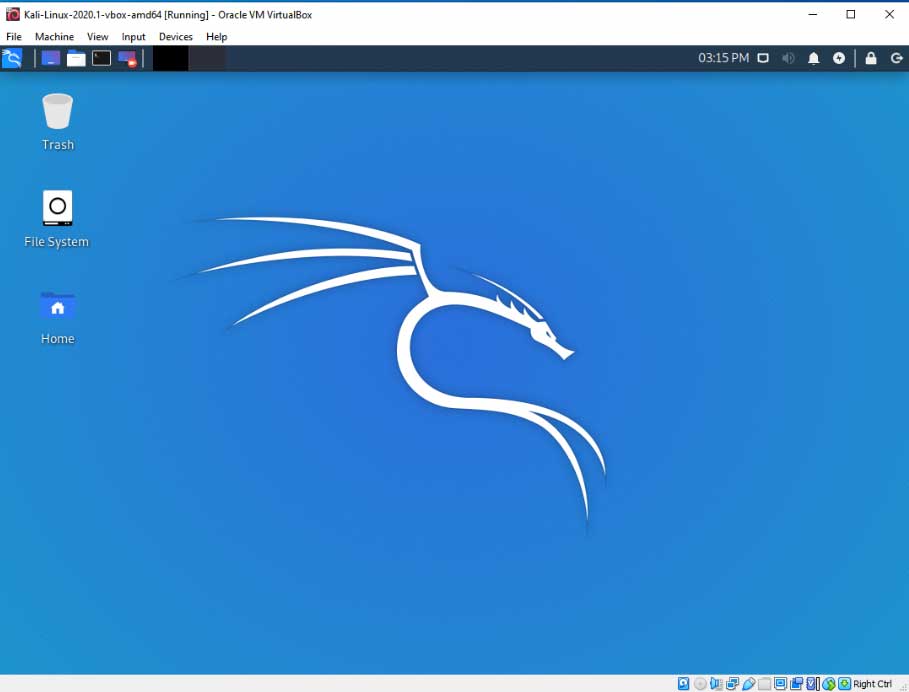
Finally, Kali Linux 2020.1 installation is completed
Video:
You can follow the following video where I will show, How To Install Kali Linux 2020.1 in Virtual Box step by step
Install Kali Linux on Virtual Box Method 2
Download Kali Linux
And the Second method I choose Kali Linux 64-bit VirtualBox image download from Here.
Kali Linux 2020.1 Download
You can download VirtualBox from here, and install it in your operating system based on Linux or Windows accordingly.
Or click on this link to go to the video on My YouTube Channel.
Create a Virtual Machine
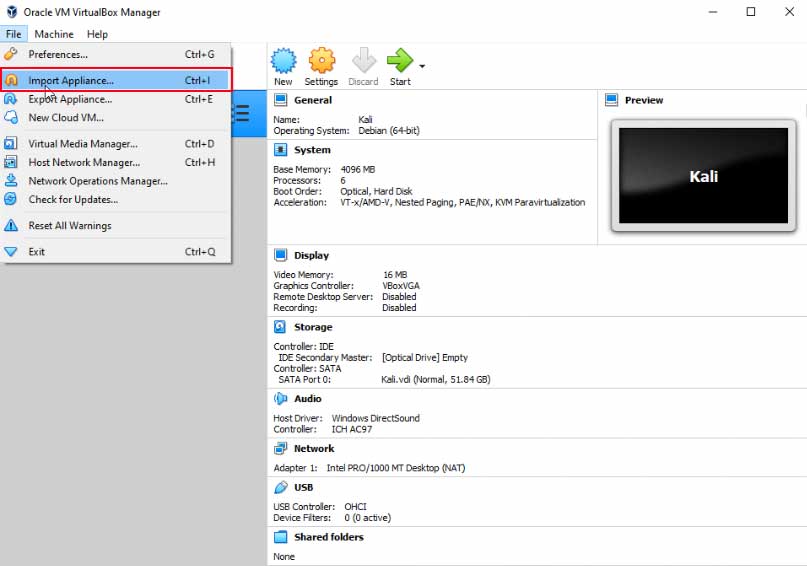
Start the VirtualBox and Click on “File”
Import Kali Linux VirtualBox image.
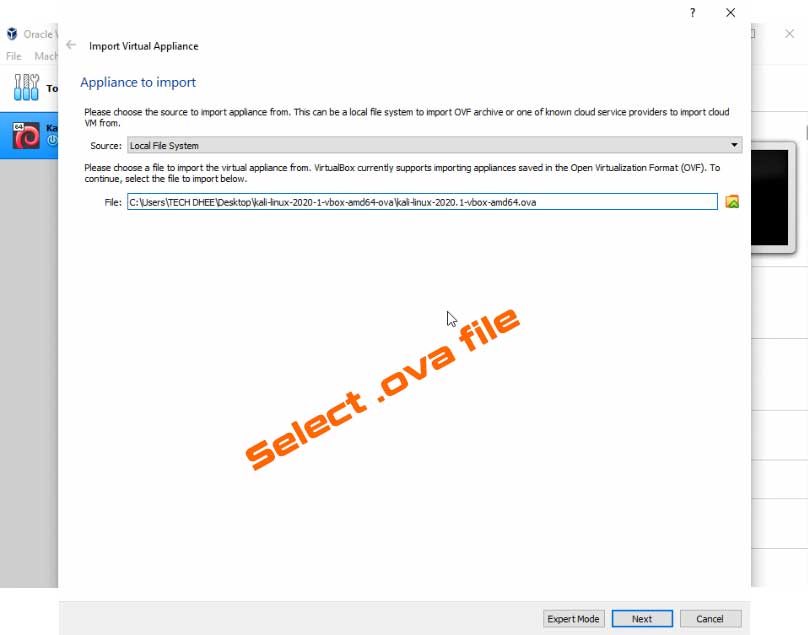
Now you have to click on Import Appliance to import the .ova file.
Appliance to import
Here you have to select the official download Kali Linux VirtualBox image file with extension .ova and then click on “Next”
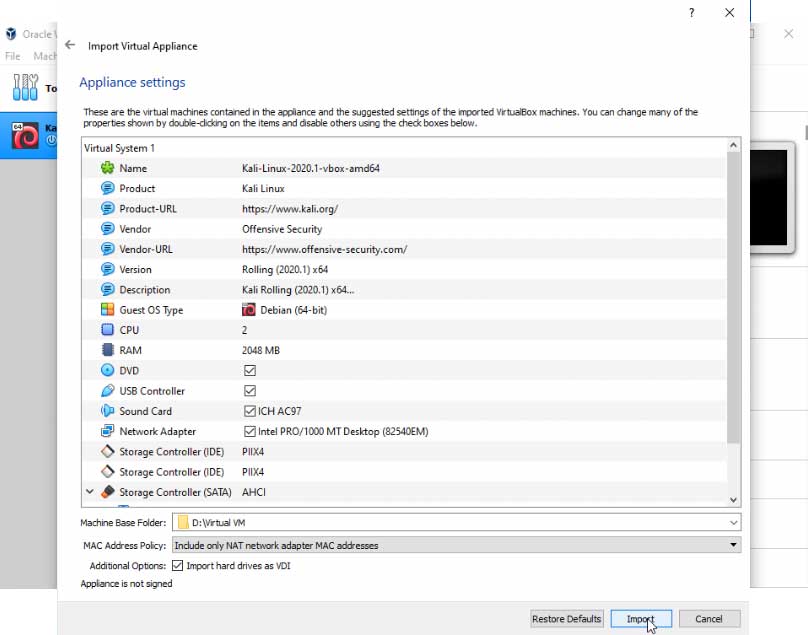
Imported VirtualBox machines settings
This is the pre-build virtual machine with minimal settings, so you can change later first we have to import the virtual machine, so click on “Import”
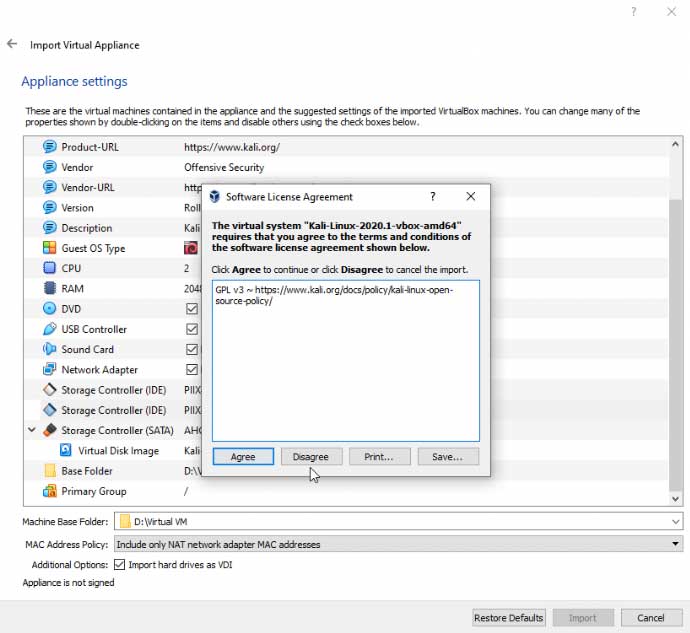
Software Licence Agreement
Kali Linux Open Source Policy Agreement
Importing appliance (Kali Linux’s Virtual machine)
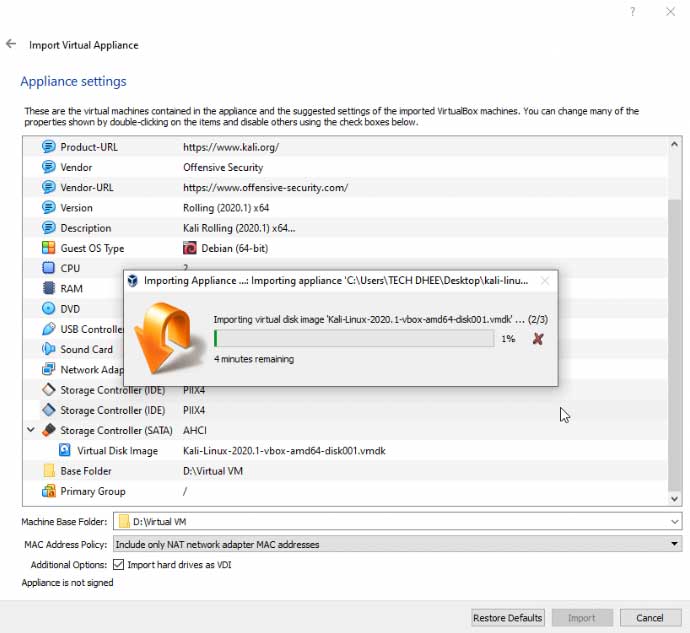
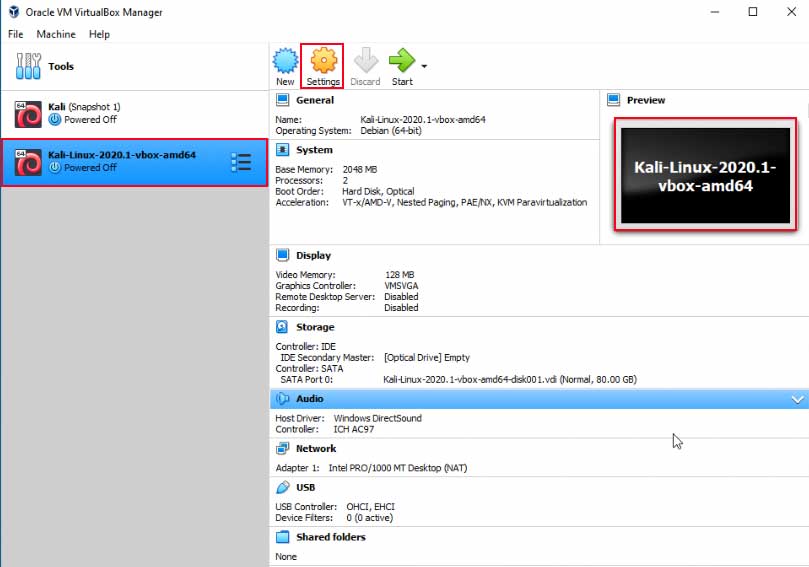
Now your importing appliance is done your virtual machine is almost ready to use the Kali Linux, but here you can adjust some settings accordingly your hardware.
Click on “Settings”
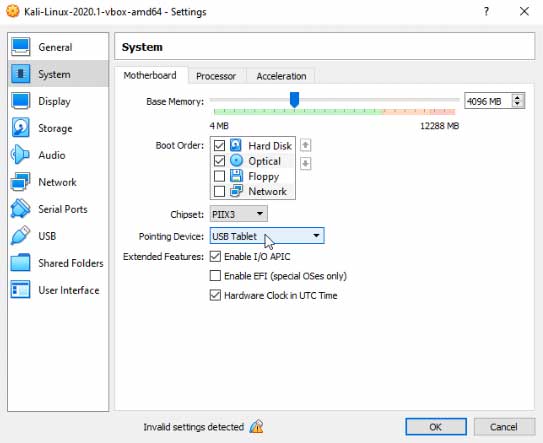
Memory Size
Select the amount of memory (RAM), If your physical RAM is 8GB of RAM, you can set almost 4GB if you are running only on VM at a time, otherwise, you can give accordingly your usage of RAM, but I recommend 2GB of RAM at least you set.
Processor
Under the “System” select the Processor option and there you can select CPU core for your virtual machine according to your hardware.
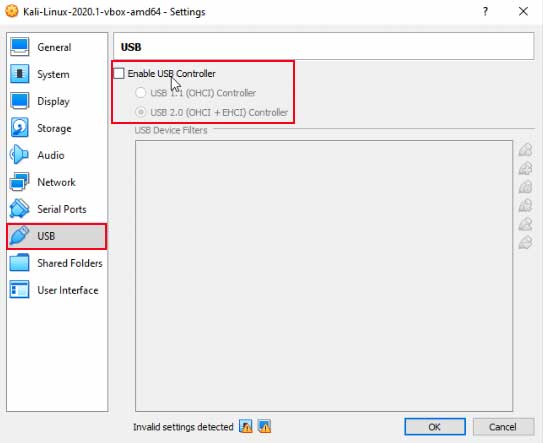
Disable USB Controller
This step is most important other wise you get an error when you start the Kali Linux so you have to Disable the USB controller. And click on OK
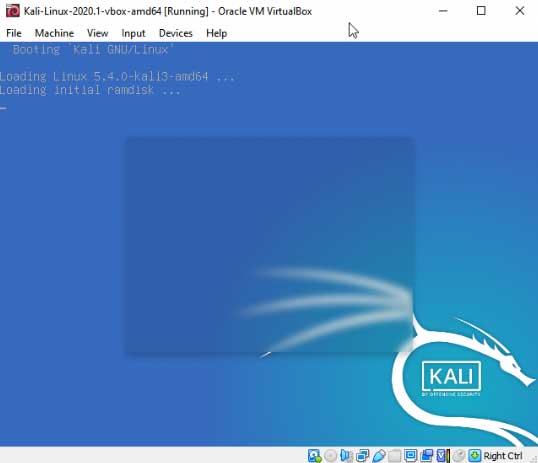
Kali Linux 2020.1 after importing .ova file
First booting screen
Kali Linux 2020.1 Login Screen
Here enter your username and password
Default user name ad password is kali/kali
Finally, Kali Linux 2020.1 installation is completed (Method 2)
Video:
You can follow the following video where I will show, How To Install Kali Linux 2020.1 in Virtual Box step by step (method 2)
Important Things To Remember:
The author of this article does not promote any illegal activities It is just for education purpose All the activities provided in this article, YouTube channel, and the website techdhee.in are only for educational purposes.
If you are using and follow this tutorial for any illegal purpose, techdhee.in can not be responsible for your action.
My purpose is to educate or share the information who have not, how to secure your self from the Internet, and the world of digital.
Also, read the Disclaimer
Conclusion:
I recommend that you have to follow the second step to install Kali Linux in a virtual platform if you want to install Kali Linux in VirtualBox or VMware you have to download the official Virtual image and install it in your system as you want. The second method has no issue any error when you use it bu in the first method we have facing Guest Tool error, you have to install manually. So finally my vote for method 2.
Finally
Thank you for reading this post and keep connected to TECH DHEE to continue enjoying excellent posts. Share your views about this post in the comment section below. If you still have any queries, throw it in the comment section. If you find this post helpful, don’t hesitate to share this post on your social network. It will only take a moment and also it is quite easy and useful for others.