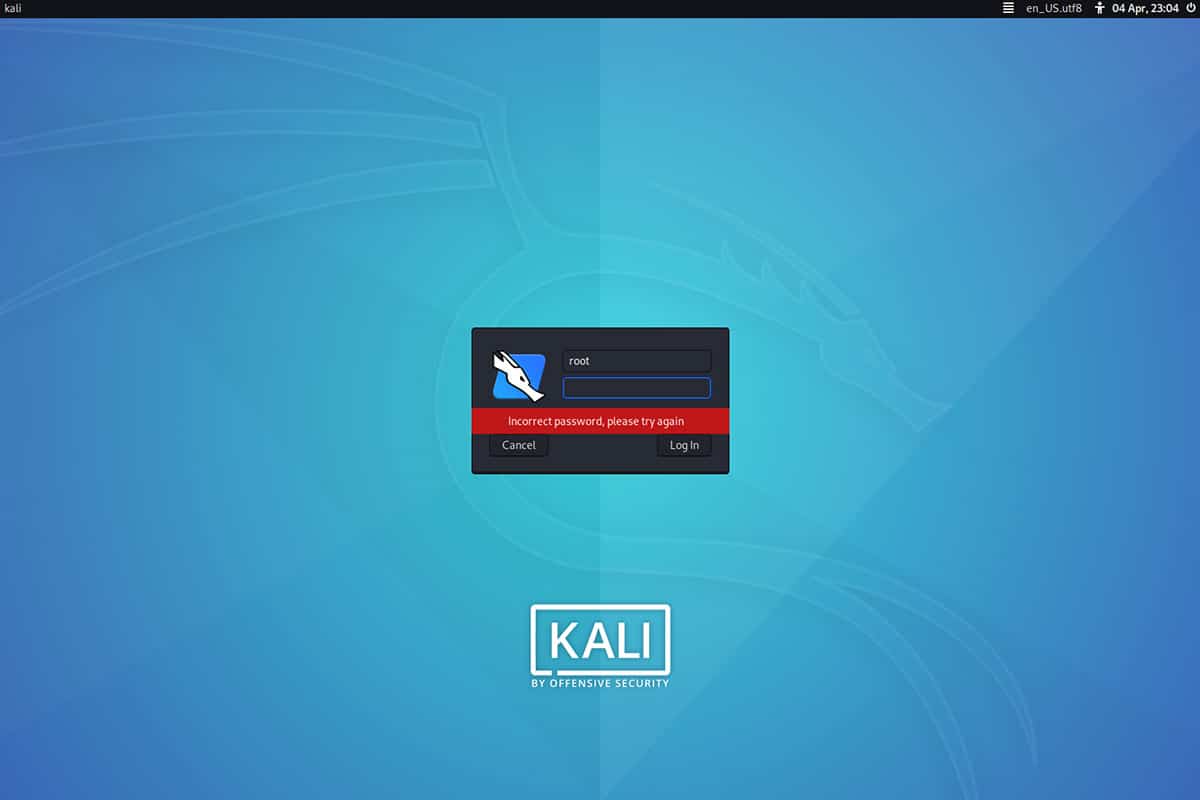
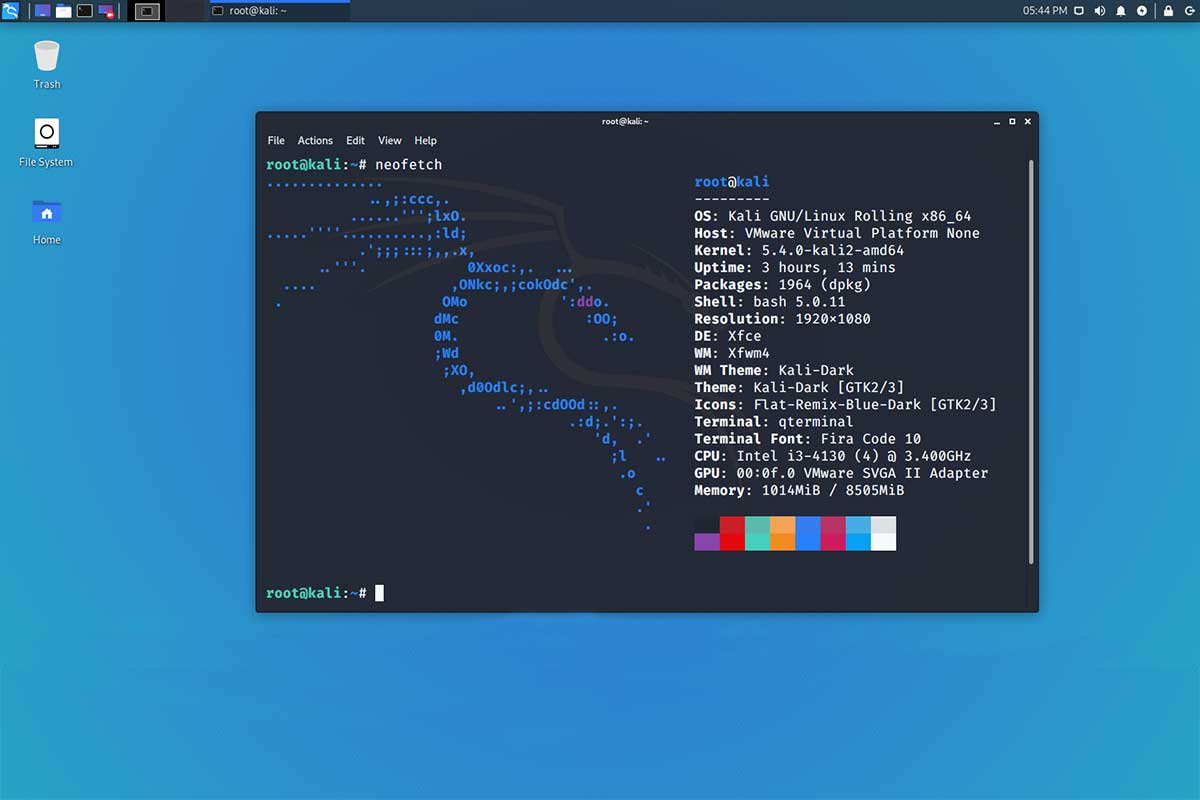
The default user in Backtrack is the root and after the Backtrack name changed into Kali Linux policy remain the same default name is the root where user login with root by default. But now Kali changes their policy and come to traditional default non-root user model and introduced in the latest version of Kali Linux 2020.1. The live mode of Kali Linux will be running as a user kali password kali. No more root/toor. While we install the Kali Linux at that time we will create a non-root user that will have administrative privileges (due to its addition to the sudo group). This is the same process as other Linux distros have.
How To Get root Access:
In Kali Linux 2020.1 by default we login as non-root users and there we have to set the root password by our self. The first time we don’t know the root password so we can not login directly that why we have to login as non-user which is created while we install Kali Linux 2020.1.
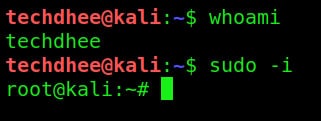
Check login user
Now, first of all, you have to open the terminal and you can check currently login user with the help com whoami command.
 Login as root in the terminal
Now we to switch the user non-root to root so you have to type the command in terminal as sudo -i and hit enter.
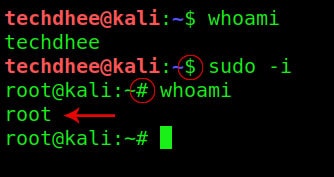
Check the root login or not?
Now you can check you are in the root you can identify with the symbol of # as well as you can type the same command whoami.
Set the Kali Linux root password
Now you have verified the current login user in the terminal is root so you have to type passwd command and hit enter, it is asking for a password so you have to enter the password and then verify the password, and that it, you have set the root password using the terminal.
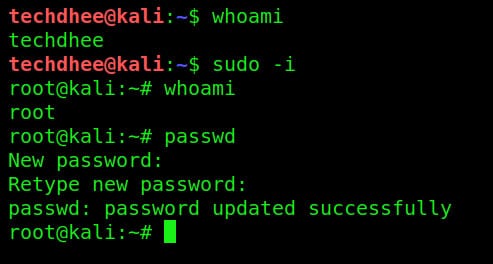
Login as root in Kali Linux
Now you can exit from root user and close the terminal and logout from non-root user and login with root user with the help of a new password.
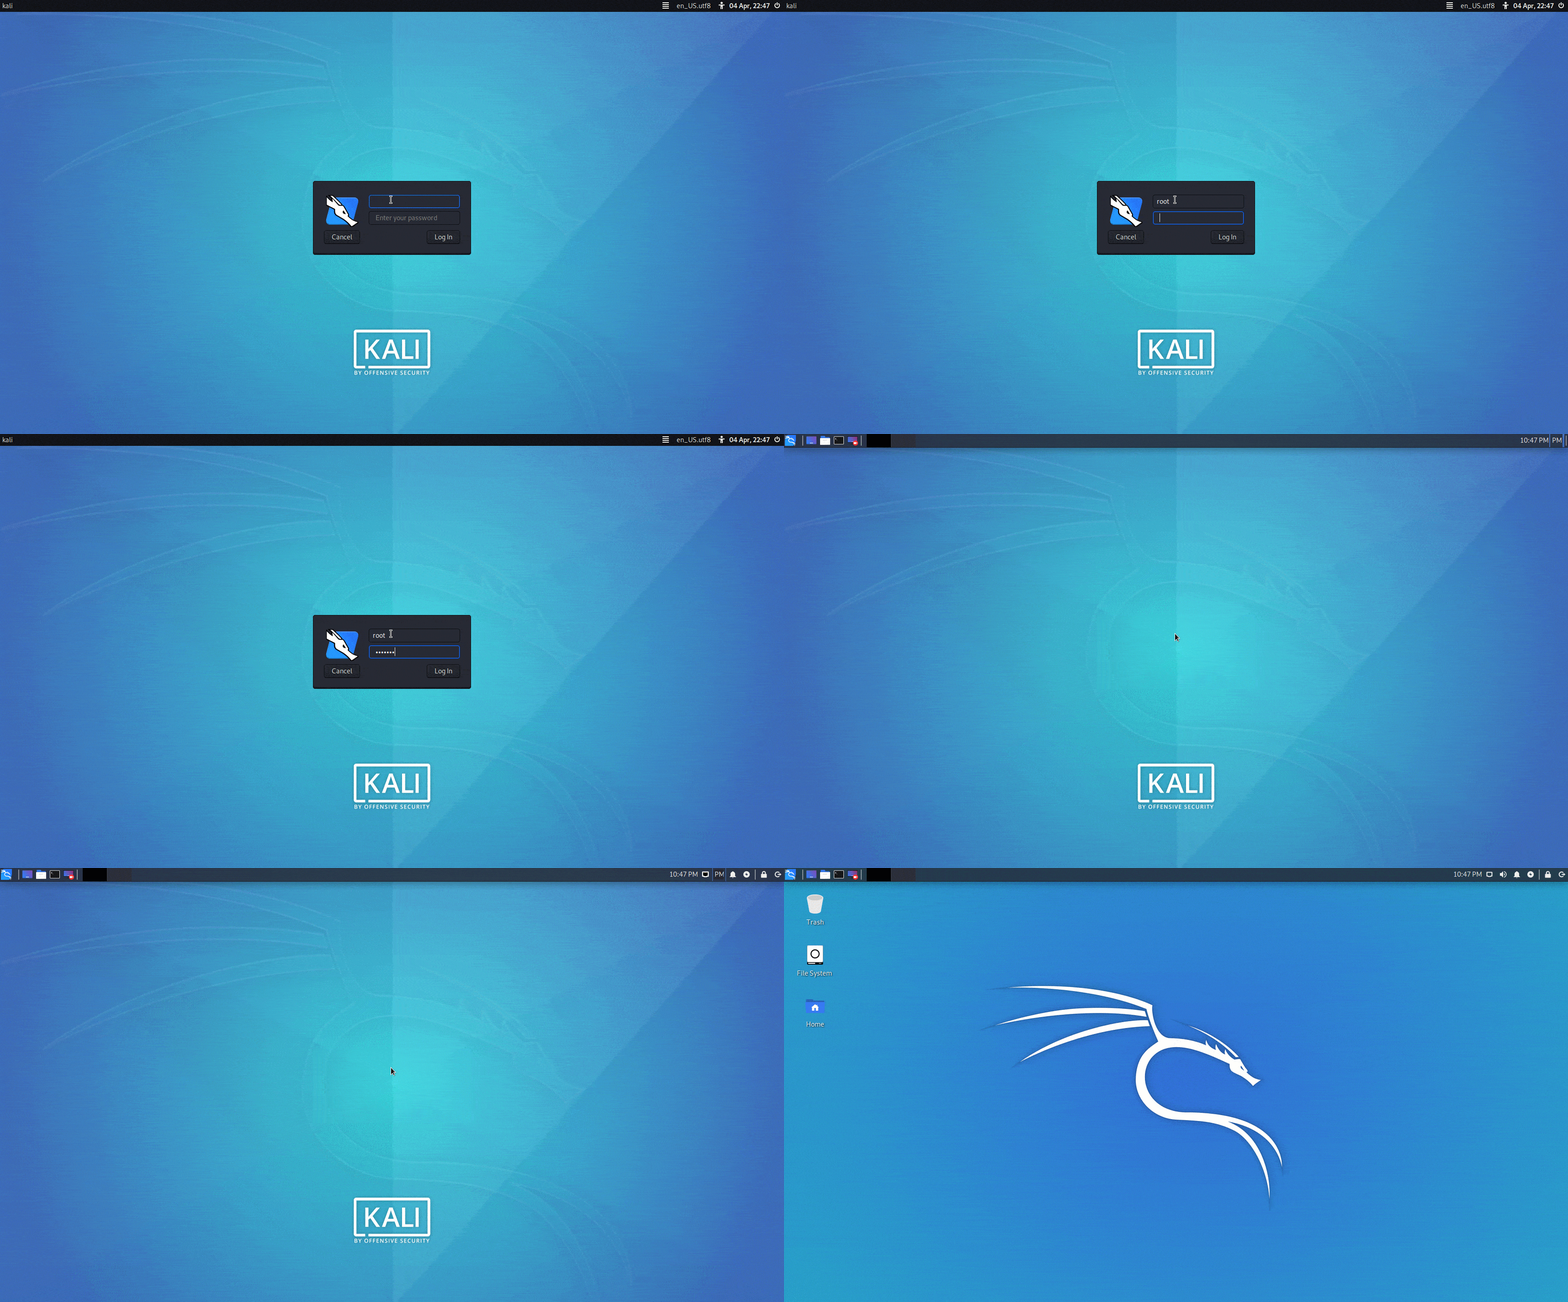
That’s it this is the way how you can change the root password and login with root user.
Video
You can watch the following video where I show step by step how you can get root access and how you can change the password.
How To Get root Access in Kali Linux GNOME Desktop Environment
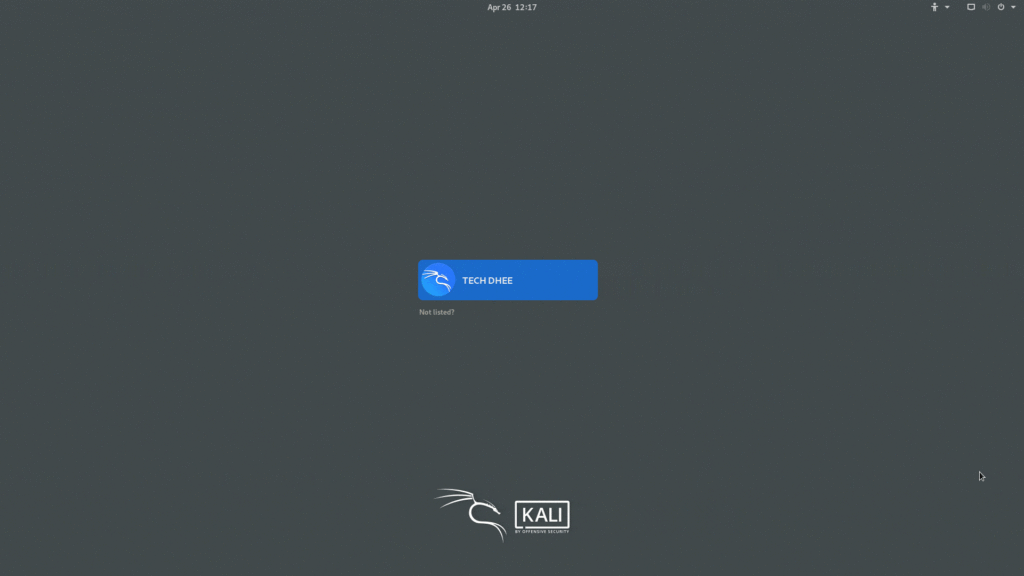
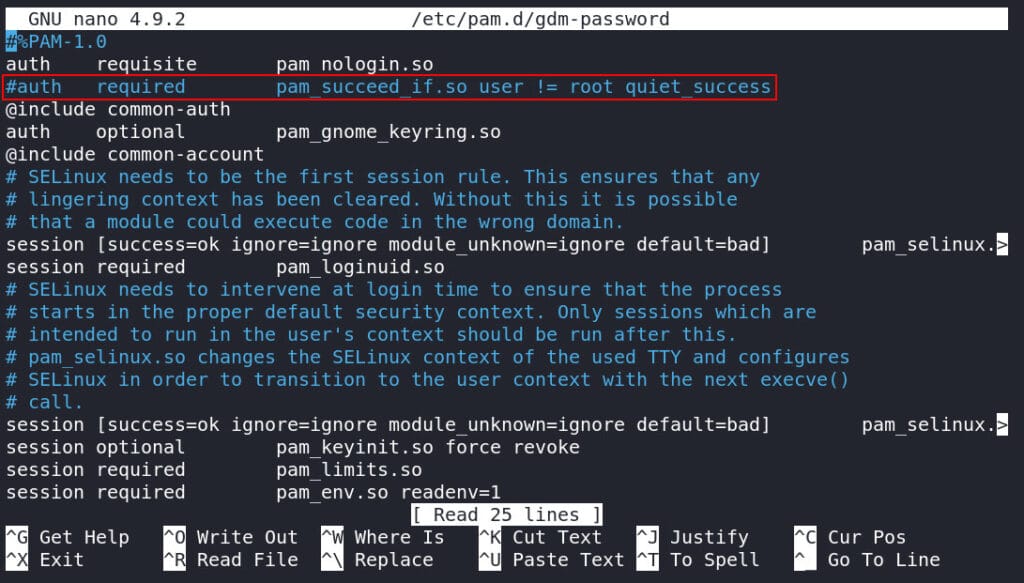
In the GNOME DE, we have to get root access following the all above steps. But in the GNOME DE we have to follow an extra step which is we have to edit a file and in the file. We have to comment a line to logging in as root in Kali Linux 2020.1 with GNOME Desktop Environment.
# sudo nano /etc/pam.d/gdm-password

In this file we have to comment on the second line: auth required pam_succeed_if.so user != root quiet_success
#%PAM-1.0
auth    requisite      pam_nologin.so
#auth   required       pam_succeed_if.so user != root quiet_success @include common-auth auth optional pam_gnome_keyring.so @include common-account # SELinux needs to be the first session rule. This ensures that any # lingering context has been cleared. Without this it is possible # that a module could execute code in the wrong domain. session [success=ok ignore=ignore module_unknown=ignore default=bad] pam_selinux.so close session required pam_loginuid.so # SELinux needs to intervene at login time to ensure that the process # starts in the proper default security context. Only sessions which are # intended to run in the user's context should be run after this. # pam_selinux.so changes the SELinux context of the used TTY and configures # SELinux in order to transition to the user context with the next execve() # call. session [success=ok ignore=ignore module_unknown=ignore default=bad] pam_selinux.so open session optional pam_keyinit.so force revoke session required pam_limits.so session required pam_env.so readenv=1 session required pam_env.so readenv=1 envfile=/etc/default/locale @include common-session session optional pam_gnome_keyring.so auto_start @include common-password
Video
You can watch the following video where I show step by step ho you can get root access in Kali Linux and how you can change the password and log in as root in Kali Linux with GNOME Desktop Environment.
Important Things To Remember:
The author of this article does not promote any illegal activities It is just for education purpose All the activities provided in this article, YouTube channel, and on the website techdhee.in are only for educational purposes.
If you are using and follow this tutorial for any illegal purpose, techdhee.in can not be responsible for your action.
My purpose is to educate or share information that have not. How to secure your self from the Internet, and the world of digital.
Also, read the Disclaimer
Finally
Thank you for reading this post and keep connected to TECH DHEE to continue enjoying excellent posts. Share your views about this post in the comment section below. If you still have any queries, throw it in the comment section. If you find this post helpful, don’t hesitate to share this post on your social network. It will only take a moment, and also it is quite easy and useful for others.
